
How to make Quesco Fresco and Chalupas
Diana Kennedy is widely recognized as one of the most reliable authors and educators of regional Mexican cuisine. Her book From My Mexican Kitchen is a great guide through the techniques and subtleties of making authentic Mexican food. So throw away your pre-mixed spice blend and jarred salsa and let's get cooking! Unfortunately (or fortunately if you're the adventurous type), there is no straightforward answer to what is 'authentic' in Mexican cooking. The preparation of basic ingredients can vary from region to region even based on local lore or religion. For example, the preparation of chilies can be fresh, charred or sequentially charred – peeled – soaked – blended, etc. tomatoes can be peeled or unpeeled. Tamale wrappers can vary from dried or fresh corn husks to fragrant avocado leaves. Phew! Where to begin? Fortunately, Kennedy will be joining us at this year's LitFest to discuss such a topic!
One of my favourite ingredients from Central America is Queso Fresco so I had to use the opportunity of being on a dairy farm at Ballymaloe Cookery School to try and make it from scratch. I had already made cheese during the 12 week course (that took 12 weeks to ripen, too!) so making this fresh-tasting, mozzarella-like quick cheese was a walk in the park.
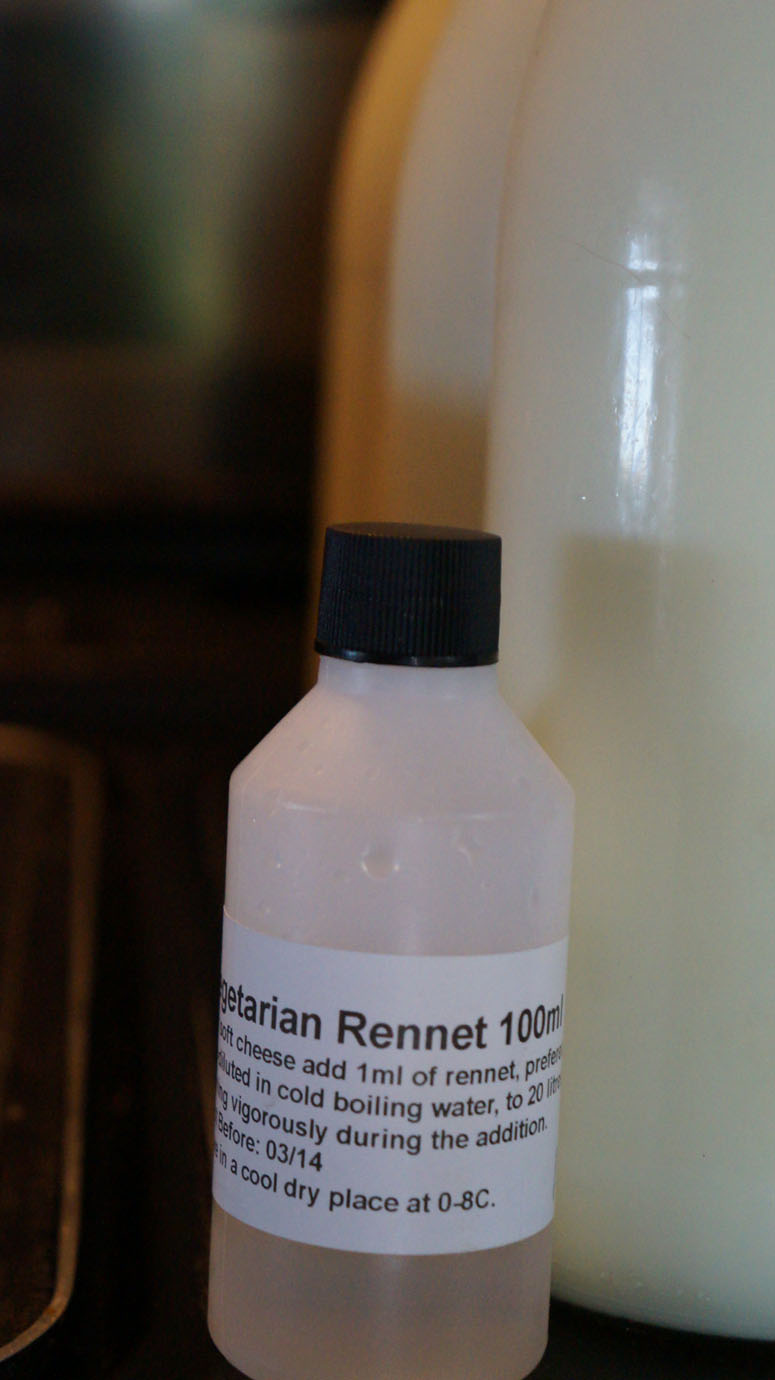
Adding rennet to coagulate 4L raw cows milk.

Let sit for 1hr.
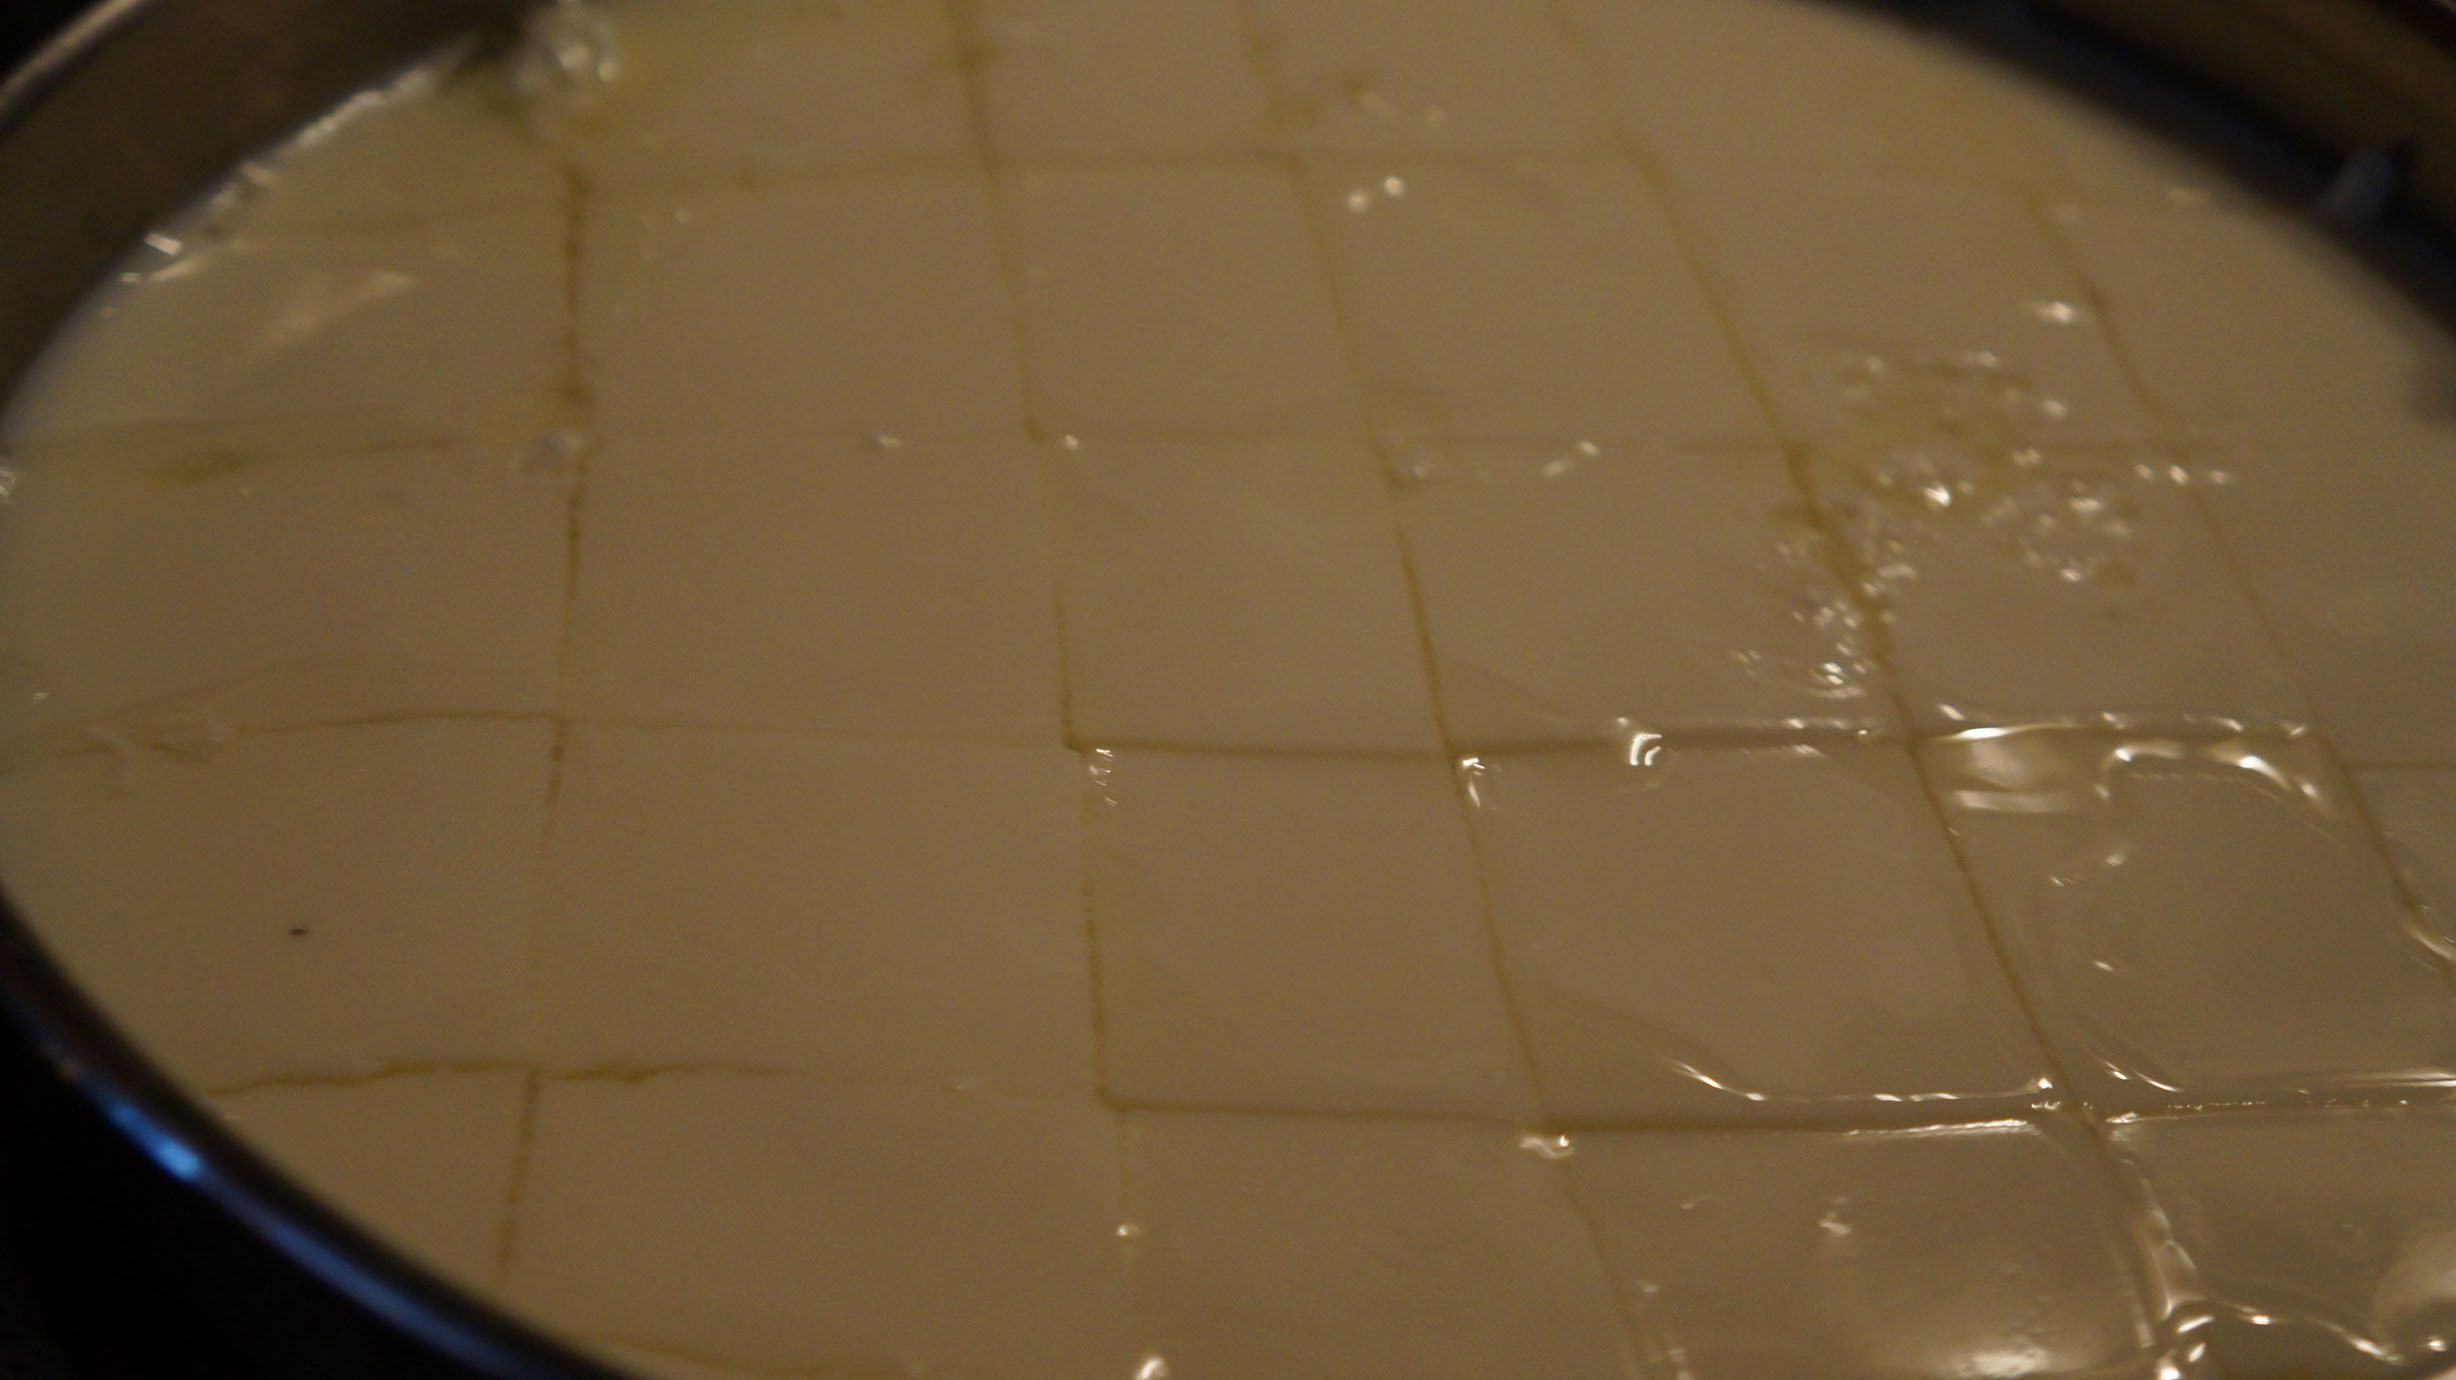
Cutting 1" cubes and letting the whey escape for 2 hours.

After 2 hours.
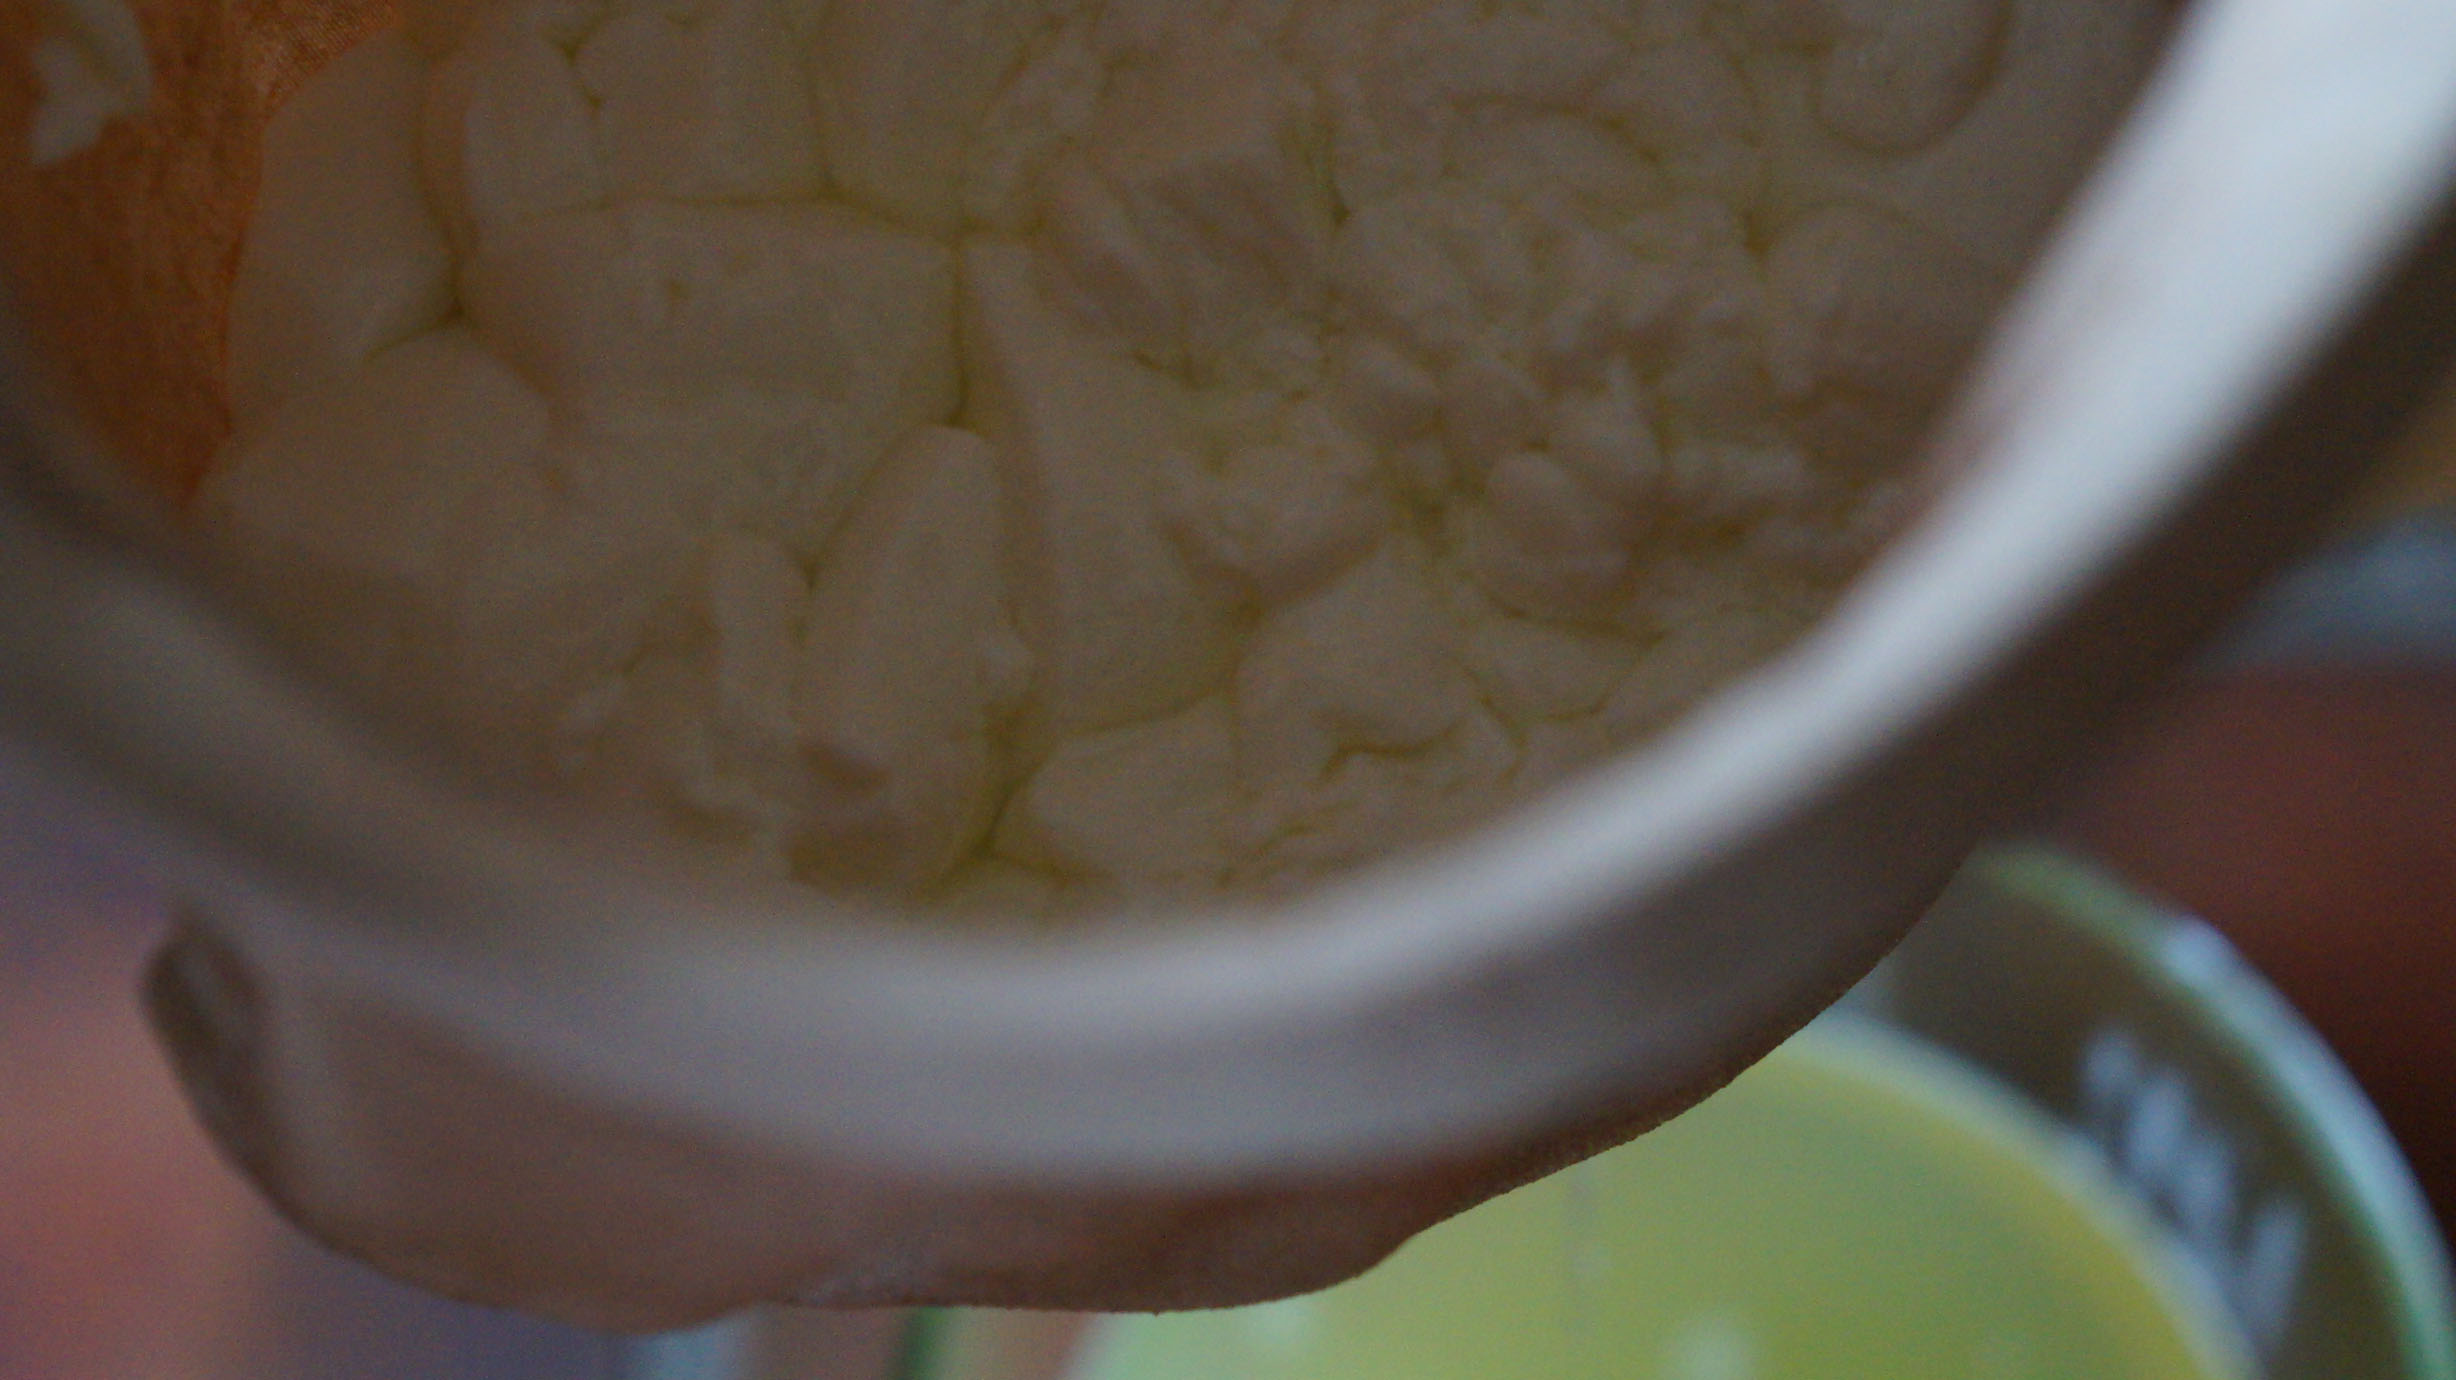
Letting curds drain through a cheese cloth overnight.

Drained curd the next day.

Crumbling the curd.

Mixing crumbled curd with 2tsp salt.
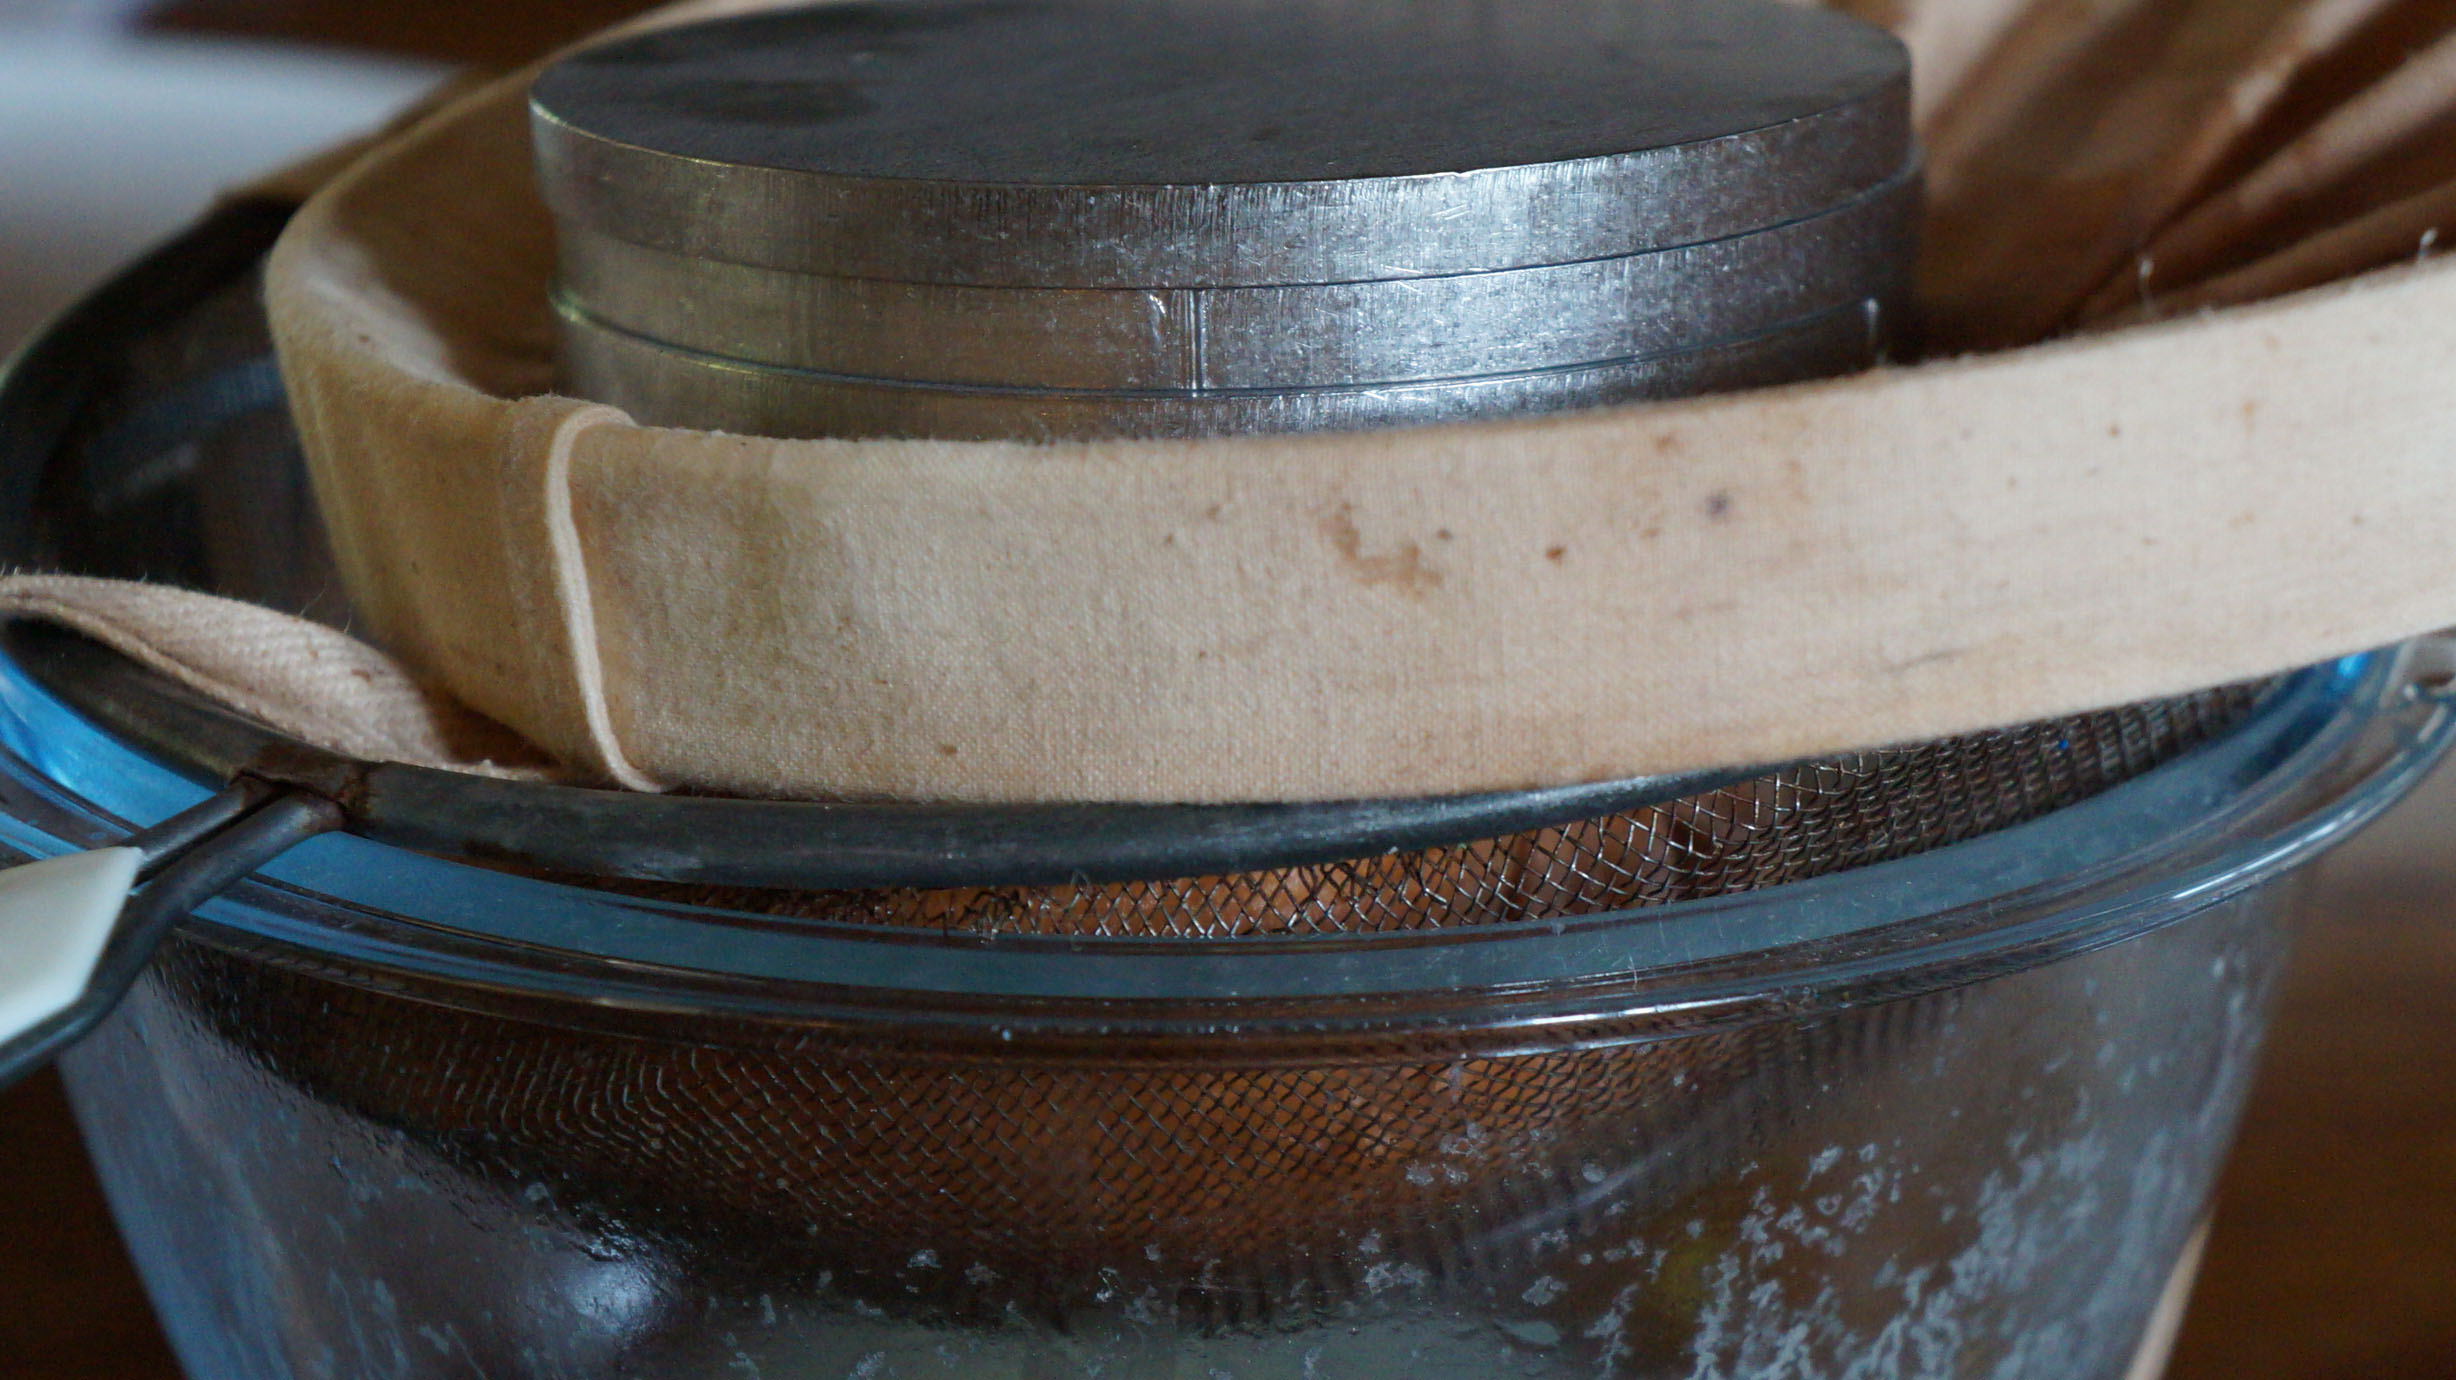
Pressing the crumbled curd & salt in my makeshift cheese mold!
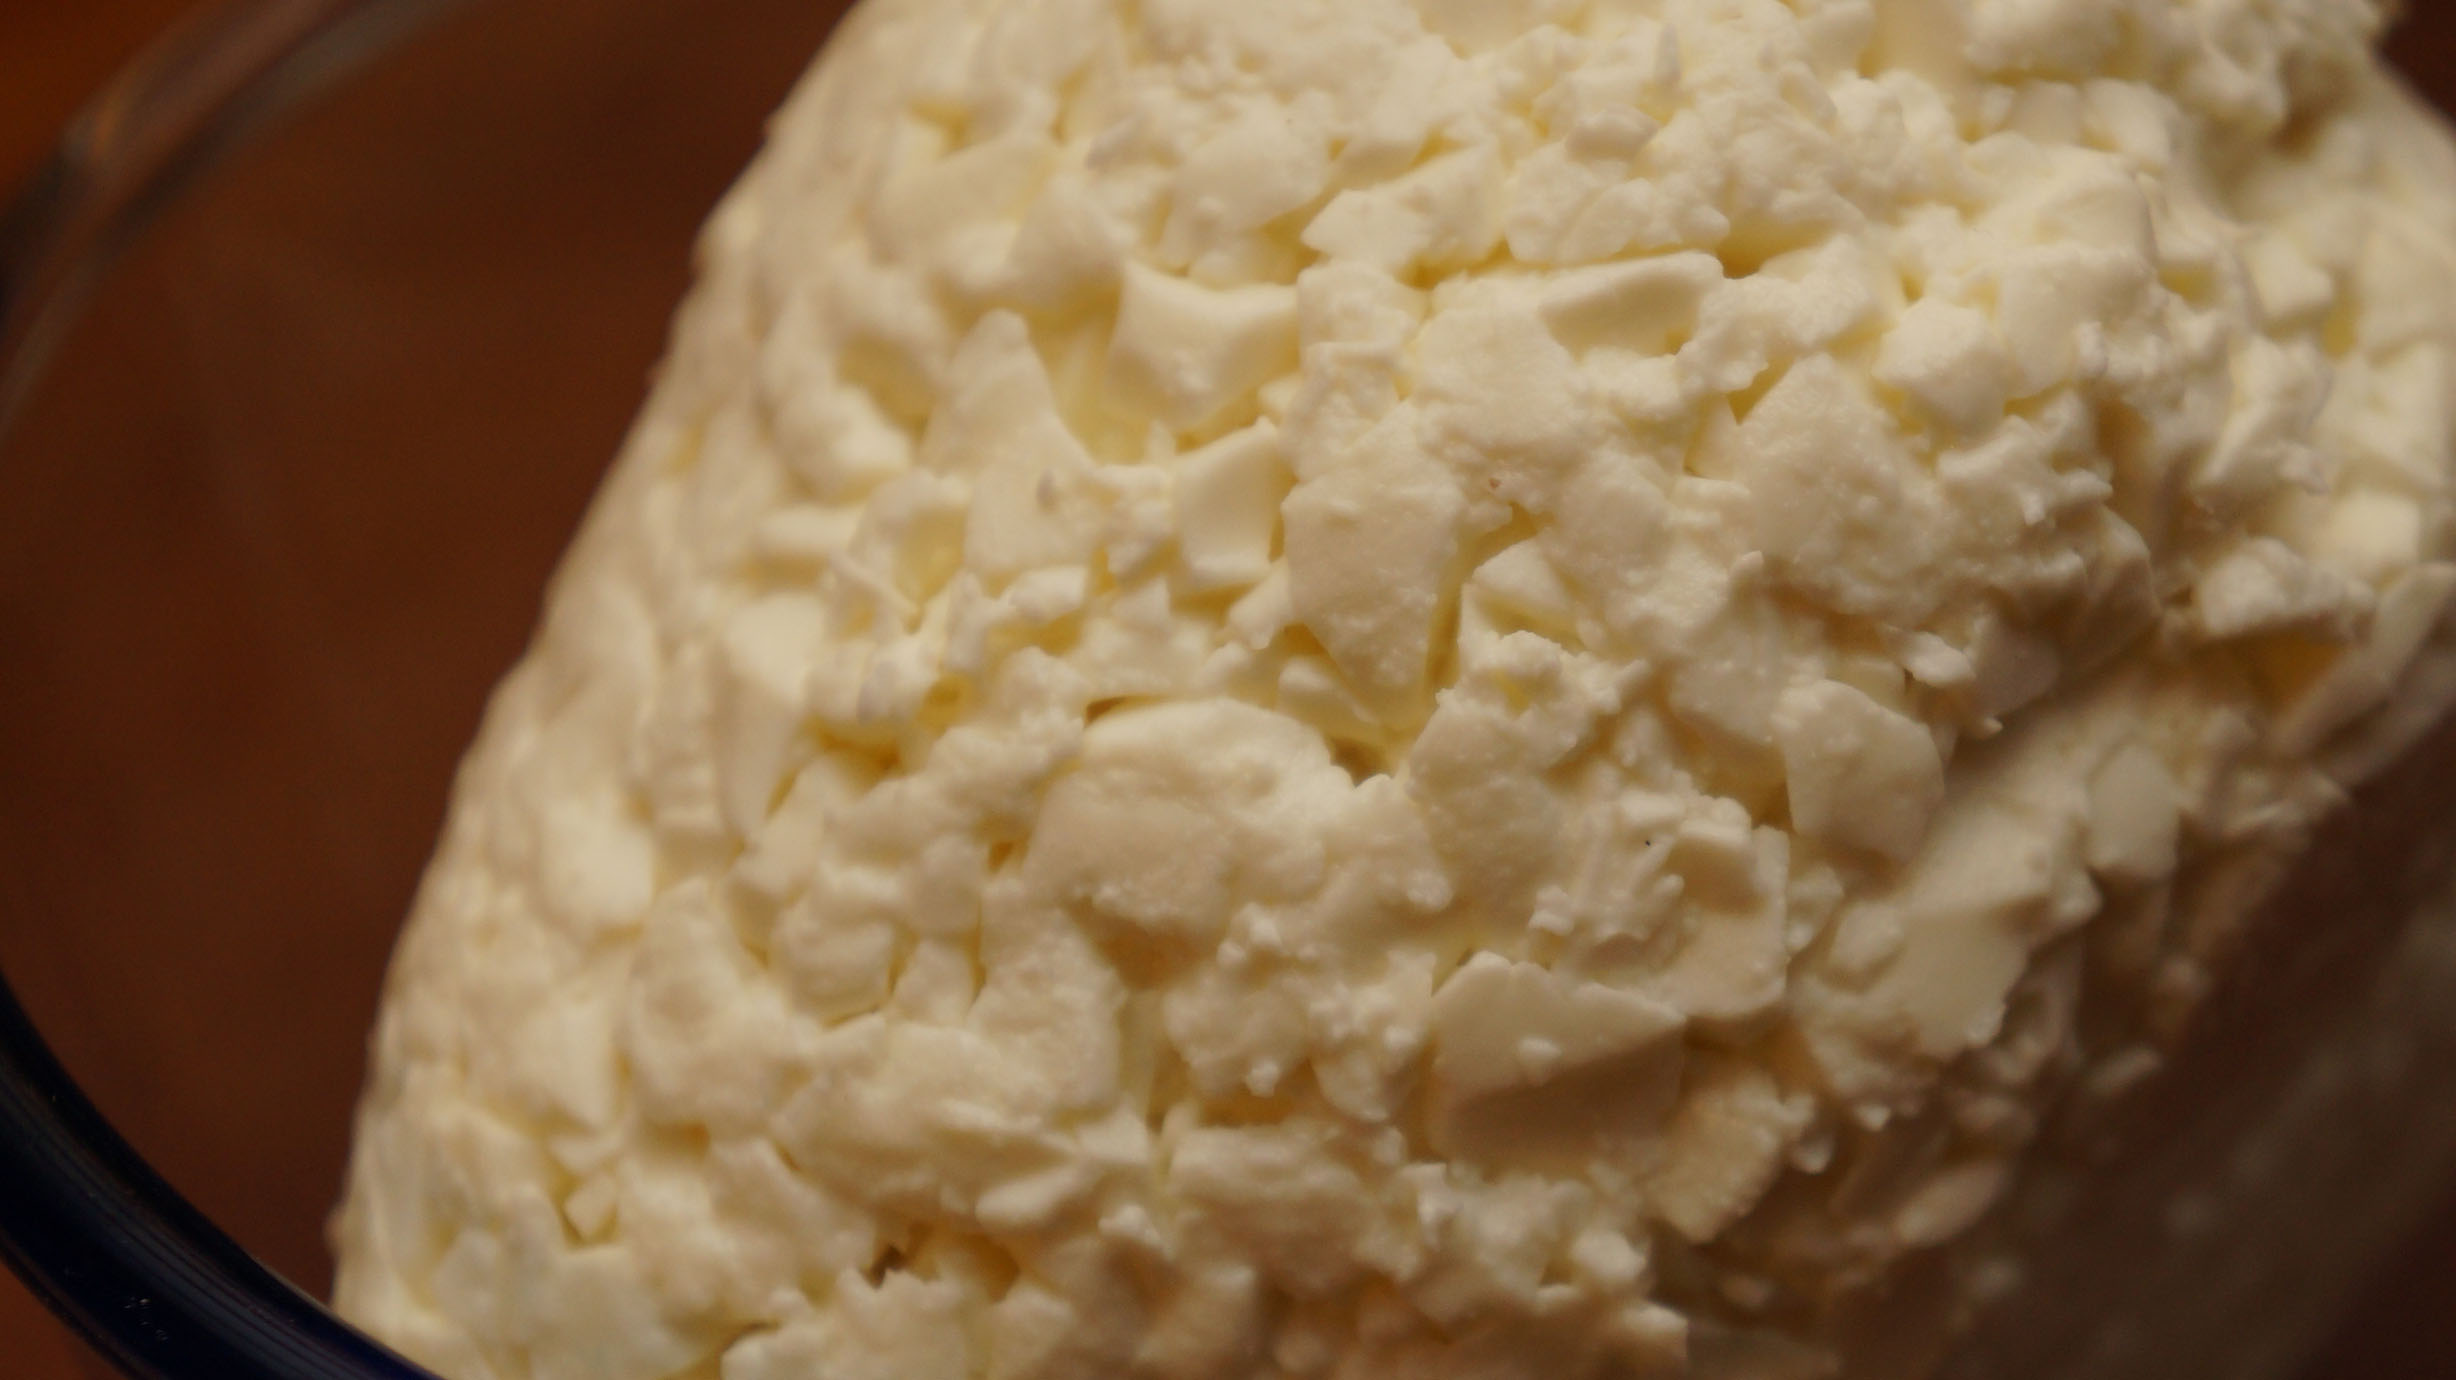
The final product!
You may be familiar with other tortilla-based mexican dishes such as quesadillas, enchiladas, etc. Chalupas caught my eye in Kennedy's book because of their unique shape.
Diana Kennedy explains, “probably named for the little canoelike boats that were used in the narrow water-ways... not far from Mexico City. In fact, they are either flat and oval or canoe shaped and often filled with shredded chicken and seasoned with a green sauce, topped with onion and crumbled queso fresco”


~~~~~
Chalupas
10 oz, 1 heaped cup Tortilla Masa
Melted lard or vegetable oil, for reheating
Topping
375ml, 1½ cups loosely packed, cooked and shredded chicken
188ml, ¾ cup salsa verde *I used Thomasina Miers' salsa since tomatillos weren't in season yet... 83ml, 1/3 cup finely chopped white onion
83ml, 1/3 cup crumbled quesco fresco
Work the masa well until it is soft and smooth and divide into twelve equal parts. Roll each part into a ball about 1¼ inches (3.13cm) in diameter and cover with a damp cloth.
Warm a lightly greased comal over medium heat. Roll a ball of the masa into a cylinder about 3 inches (7.5cm) in length, and with your index finger (as shown), press down to form a hollow in the center of the masa and tapering at the end like a small canoe. Place on the warmed comal bottom down (I used a cast-iron pan) and cook until the masa is opaque and slightly speckled with brown, about 4minutes. Turn the chalupa over and cook on the hollowed side for a further 4 minutes, or until the dough is cooked but oft inside with a slightly crusty surface.
Fill and dress the chalupas; as you will need half the quantities given in the list above.
Note: Like all masa antojitos these are eaten the moment they are cooked but this may not be practical. So make them ahead of time and keep them covered-untilled-with a damp cloth. Reheat gently in the melted lard or oil and then fill and serve. I do not recommend freezing (although some people do it) because it tends to toughen the masa or it disintegrates when defrosted.
How to make Ginger Beer
Of all the authors at LitFest, Sandor Katz is one I'm most familiar with. When I first began to delve into the forgotten skills of cooking, his book Wild Fermentation was a sort of bible to many of my environmentally conscious friends – and still is! Fermenting foods is a way of preparing food that is an incredibly intimate reflection of the local where it is made. When you think about it, the food is (mostly) preserved by the natural yeasts and bacteria present, not only from the food itself, but also from the atmosphere. I remember being told during a fermentation course that you actually don't need to use sterilized jars or thoroughly washed vegetables for your, say, kimchi. The white dusty film on your cabbage leaves are full of bacteria that help the fermentation happen. The more sterilized the environment, the less likely your fermentation will happen.

Thus, it is incredibly easy and fuss-free. It only requires time – not even time from you (other than the 5 minutes per day that you'll need to tend to your new pet. Yet, as I write this the tasks ahead of me seem daunting. Perhaps it is because many of these foods remain a mystery. We've been raised to believe and fear that food outside the fridge is dangerous.
It's hard to neglect the extreme importance of fermented foods in our diet. They add beneficial bacteria that help our digestion function optimally. Food fad proponents of supplementation and 'superfoods' often neglect the very important part of actually absorbing these beneficial nutrients. One cannot absorb and utilize these unless our digestion is up to scratch.
~~~~~
Ginger Beer from The Art of Fermentation (2012)
Grate a bit of organic ginger (with skin) into a small jar, add some water and sugar, and stir. Stir frequently, and add a little more grated ginger and sugar each day for a few days, until the mixture is vigorously bubbly.

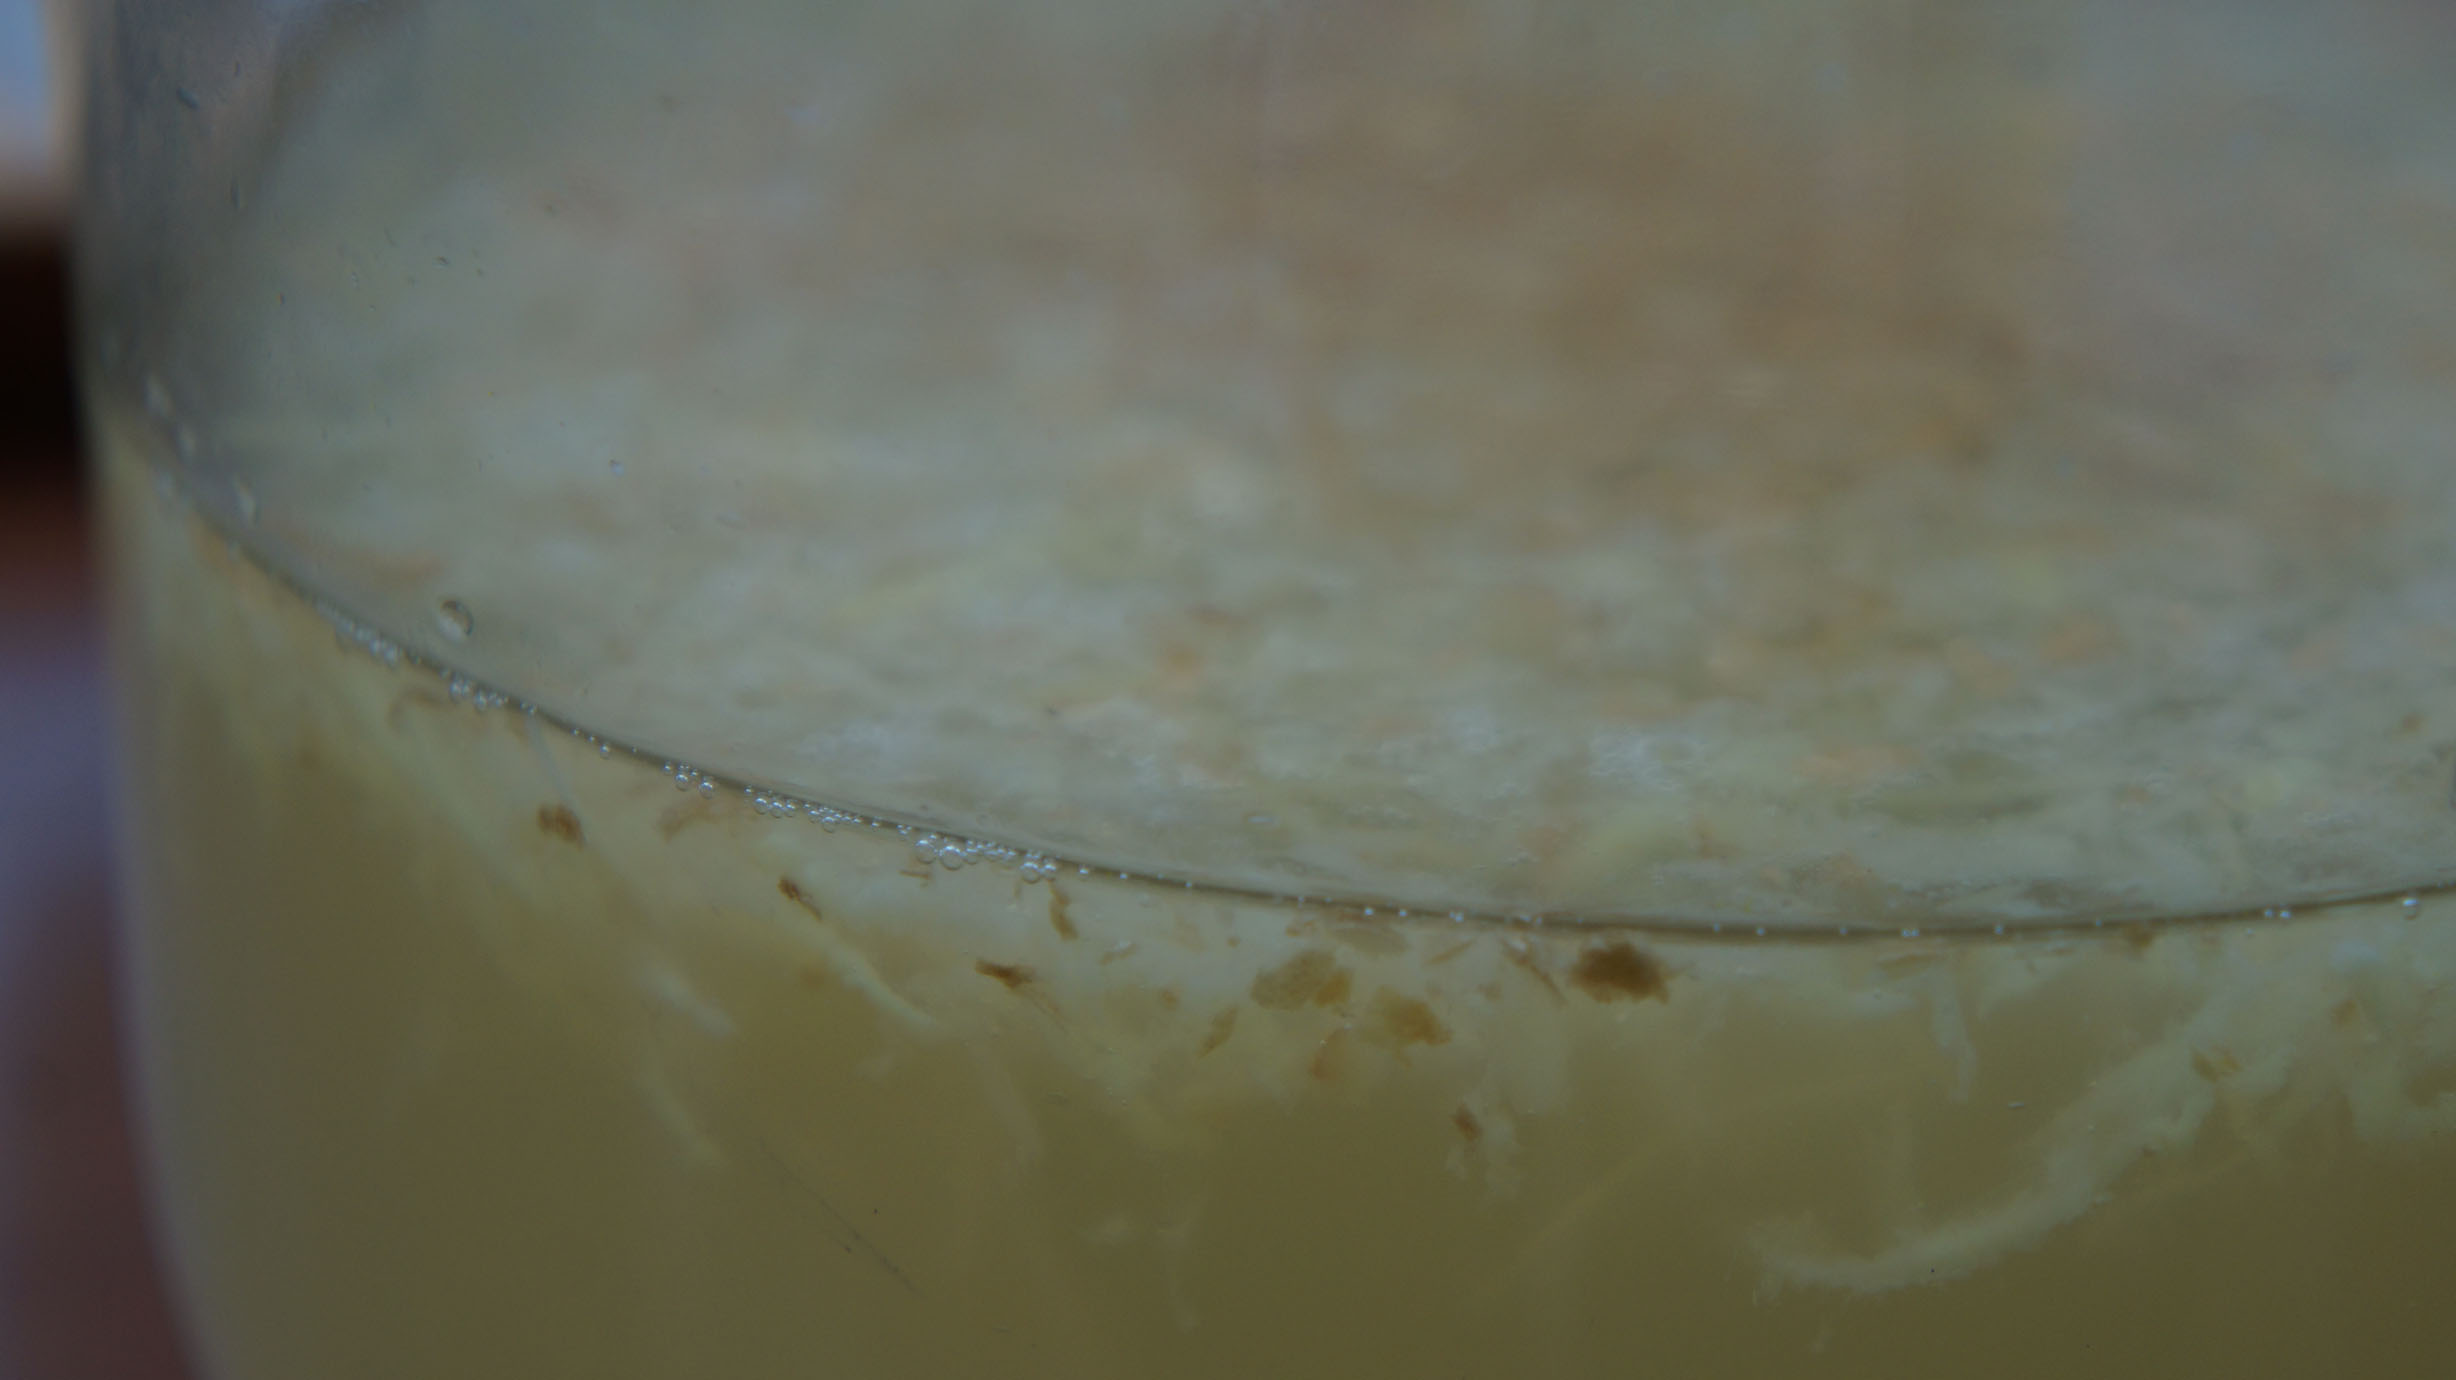

Once your bug is vigorously bubbly, prepare a ginger decoction that will become your ginger beer. I like to make a concentrated decotion that cools to body temperature as it is later diluted with cold water. To make such a concentrate, fill a cooking pot with water measuring about half the volume of ginger beer you wish to make. Add finely sliced or grated ginger using 2-6 inches of gingerroot (or more) for each gallon / 4 liters of ginger beer you are making (though only half of this volume is in the pot). Bring to a boil, then gently simmer the ginger, covered, for about 15min. If in doubt about how much ginger to add, experiment. Start with a smaller amount, taste after boiling (and diluting), and if a stronger flavor is desired, add more and boil another 15min.
After boiling the ginger, strain the liquid into an open fermentation vessel (crock, wide-mouth jar, or bucket), discarding the spent ginger pieces (or live the ginger in and strain later), add sugar. I usually use 2 cups of sugar per gallon (of target volume, still requiring more water), but you might like it a little sweeter than I do. Once sugar is dissolved in hot ginger water, add additional water to reach the target volume.

This will cool your sweet ginger decoction. IF it feels hot to the touch, leave it a few hours to cool before adding ginger bug. Add a little lemon juice too, if you like. Stir well. Cover with a cloth to protect from flies and leave to ferment in the open vessel, stirring periodically, until the ginger beer is visibly bubbly, anywhere from a few hours to a few days depending upon temperature and the potency of the started.

Once your ginger beer is bubbly, you can bottle it. If you wish to minimize alcohol content, bottle it quickly, and give it a short time to ferment in the bottle. If you prefer a more alcoholic brew, leave it to ferment for several days before bottling. Gauge carbonation with a plastic soda bottle. When it resists squeezing between your fingers and no longer yields easily, it is carbonated. Refrigerate bottles to cool and prevent further carbonation. Ginger beer will continue to slowly ferment (and pressurize) in the refrigerator, so enjoy it within a few weeks.
