fermentation

Blueberry Kombucha Jellies

We all love Olga’s kombucha, right?

DSC06922-2.jpg

If you don’t know what I’m talking about, you have to try Olga’s kombucha sold through Ferme Reveuse if you’re in the Ottawa / Montreal region.

Either way, this is a really great sweet treat for the holiday season. You can add whatever berries you’d like in the jellies, just don’t start substituting with other fruit such as kiwi. Kiwi and pineapple have a particularly strong enzyme that will dissolve the gelatin and it will never set.

DSC06925-2.jpg

I know gelatin based desserts may remind you of powdery jello packets but you will not get the same result when you make your own! I think it’s time to revive the art of gelatin! Just make sure that when you warm up the kombucha to not bring it to a simmer or a boil. You still want the kombucha to have its beneficial bacteria in tact.

DSC06923-2.jpg

Kombucha Jellies
makes 12

  • 2 cups Ferme Reveuse kombucha (my favourite is Raspberry-Bee Balm)

  • 1 cup blueberries, fresh or frozen

  • 2-4 tbsp maple syrup

  • 12 sheets gelatin, see notes for using gelatin powder

Step 1. Soak gelatin sheets in plenty of cold water, placing them in the water one sheet at a time. Allow to soak for 5 minutes.

Step 2. Bring maple syrup and kombucha to about 40C - 50C, a little warmer than body temperature. If the kombucha boils, it may adversely affect the setting quality of the gelatin sheets.

Step 3. Add gelatin sheets carefully to the warm kombucha. To do so, remove the soaked sheets and squeeze out water well. Stir the sheets into the kombucha until the sheets dissolve.

Step 4. Grease a 8” x 8” square baking dish with coconut oil or a neutral vegetable oil. Pour in the kombucha mixture, add in blueberries and chill overnight.


Notes. For this recipe use 3 tbsp powdered gelatin. Instead of Step 1 above, sprinkle gelatin overtop of the cold kombucha and whisk. Resume steps above except for adding gelatin sheets into the mixture.

How to make Ginger Beer

Of all the authors at LitFest, Sandor Katz is one I'm most familiar with. When I first began to delve into the forgotten skills of cooking, his book Wild Fermentation was a sort of bible to many of my environmentally conscious friends – and still is! Fermenting foods is a way of preparing food that is an incredibly intimate reflection of the local where it is made. When you think about it, the food is (mostly) preserved by the natural yeasts and bacteria present, not only from the food itself, but also from the atmosphere. I remember being told during a fermentation course that you actually don't need to use sterilized jars or thoroughly washed vegetables for your, say, kimchi. The white dusty film on your cabbage leaves are full of bacteria that help the fermentation happen. The more sterilized the environment, the less likely your fermentation will happen.

Thus, it is incredibly easy and fuss-free. It only requires time – not even time from you (other than the 5 minutes per day that you'll need to tend to your new pet. Yet, as I write this the tasks ahead of me seem daunting. Perhaps it is because many of these foods remain a mystery. We've been raised to believe and fear that food outside the fridge is dangerous.

It's hard to neglect the extreme importance of fermented foods in our diet. They add beneficial bacteria that help our digestion function optimally. Food fad proponents of supplementation and 'superfoods' often neglect the very important part of actually absorbing these beneficial nutrients. One cannot absorb and utilize these unless our digestion is up to scratch.

~~~~~

Ginger Beer from The Art of Fermentation (2012)

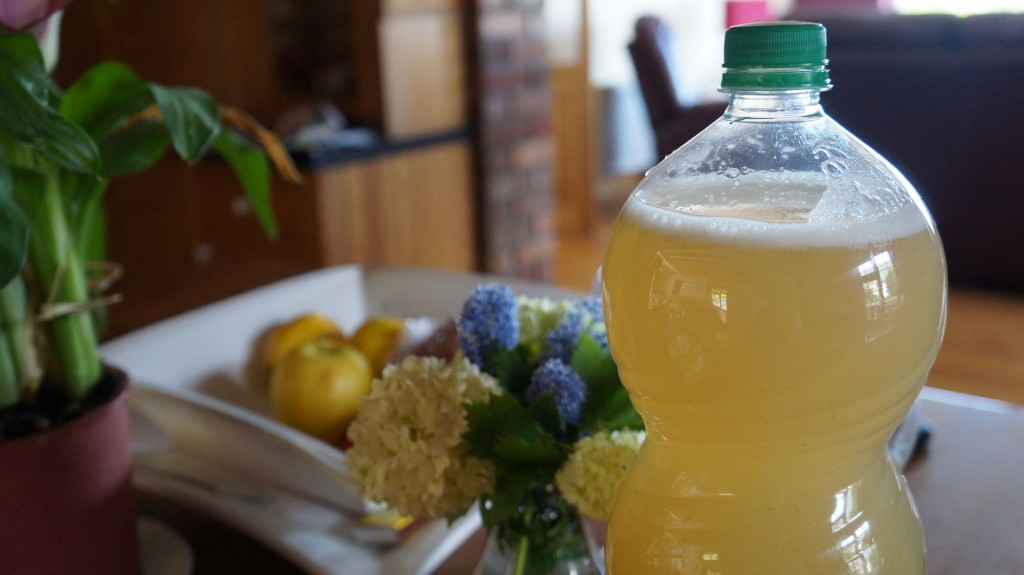
Grate a bit of organic ginger (with skin) into a small jar, add some water and sugar, and stir. Stir frequently, and add a little more grated ginger and sugar each day for a few days, until the mixture is vigorously bubbly.

Once your bug is vigorously bubbly, prepare a ginger decoction that will become your ginger beer. I like to make a concentrated decotion that cools to body temperature as it is later diluted with cold water. To make such a concentrate, fill a cooking pot with water measuring about half the volume of ginger beer you wish to make. Add finely sliced or grated ginger using 2-6 inches of gingerroot (or more) for each gallon / 4 liters of ginger beer you are making (though only half of this volume is in the pot). Bring to a boil, then gently simmer the ginger, covered, for about 15min. If in doubt about how much ginger to add, experiment. Start with a smaller amount, taste after boiling (and diluting), and if a stronger flavor is desired, add more and boil another 15min.

After boiling the ginger, strain the liquid into an open fermentation vessel (crock, wide-mouth jar, or bucket), discarding the spent ginger pieces (or live the ginger in and strain later), add sugar. I usually use 2 cups of sugar per gallon (of target volume, still requiring more water), but you might like it a little sweeter than I do. Once sugar is dissolved in hot ginger water, add additional water to reach the target volume.

This will cool your sweet ginger decoction. IF it feels hot to the touch, leave it a few hours to cool before adding ginger bug. Add a little lemon juice too, if you like. Stir well. Cover with a cloth to protect from flies and leave to ferment in the open vessel, stirring periodically, until the ginger beer is visibly bubbly, anywhere from a few hours to a few days depending upon temperature and the potency of the started.

Once your ginger beer is bubbly, you can bottle it. If you wish to minimize alcohol content, bottle it quickly, and give it a short time to ferment in the bottle. If you prefer a more alcoholic brew, leave it to ferment for several days before bottling. Gauge carbonation with a plastic soda bottle. When it resists squeezing between your fingers and no longer yields easily, it is carbonated. Refrigerate bottles to cool and prevent further carbonation. Ginger beer will continue to slowly ferment (and pressurize) in the refrigerator, so enjoy it within a few weeks.