How to make Quesco Fresco and Chalupas

Diana Kennedy is widely recognized as one of the most reliable authors and educators of regional Mexican cuisine. Her book From My Mexican Kitchen is a great guide through the techniques and subtleties of making authentic Mexican food. So throw away your pre-mixed spice blend and jarred salsa and let's get cooking! Unfortunately (or fortunately if you're the adventurous type), there is no straightforward answer to what is 'authentic' in Mexican cooking. The preparation of basic ingredients can vary from region to region even based on local lore or religion. For example, the preparation of chilies can be fresh, charred or sequentially charred – peeled – soaked – blended, etc. tomatoes can be peeled or unpeeled. Tamale wrappers can vary from dried or fresh corn husks to fragrant avocado leaves. Phew! Where to begin? Fortunately, Kennedy will be joining us at this year's LitFest to discuss such a topic!

One of my favourite ingredients from Central America is Queso Fresco so I had to use the opportunity of being on a dairy farm at Ballymaloe Cookery School to try and make it from scratch. I had already made cheese during the 12 week course (that took 12 weeks to ripen, too!) so making this fresh-tasting, mozzarella-like quick cheese was a walk in the park.

Adding rennet to coagulate 4L raw cows milk.

Let sit for 1hr.

Cutting 1" cubes and letting the whey escape for 2 hours.

After 2 hours.

Letting curds drain through a cheese cloth overnight.

Drained curd the next day.

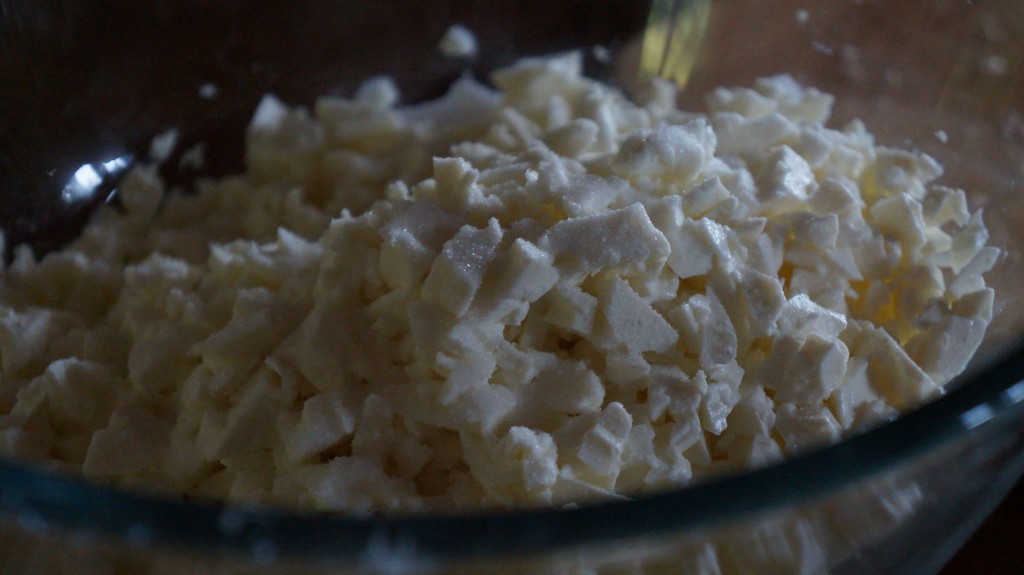
Crumbling the curd.

Mixing crumbled curd with 2tsp salt.

Pressing the crumbled curd & salt in my makeshift cheese mold!

The final product!

You may be familiar with other tortilla-based mexican dishes such as quesadillas, enchiladas, etc. Chalupas caught my eye in Kennedy's book because of their unique shape.

Diana Kennedy explains, “probably named for the little canoelike boats that were used in the narrow water-ways... not far from Mexico City. In fact, they are either flat and oval or canoe shaped and often filled with shredded chicken and seasoned with a green sauce, topped with onion and crumbled queso fresco”

~~~~~

Chalupas

10 oz, 1 heaped cup Tortilla Masa
Melted lard or vegetable oil, for reheating

Topping

375ml, 1½ cups loosely packed, cooked and shredded chicken
188ml, ¾ cup salsa verde *I used Thomasina Miers' salsa since tomatillos weren't in season yet... 83ml, 1/3 cup finely chopped white onion
83ml, 1/3 cup crumbled quesco fresco

Work the masa well until it is soft and smooth and divide into twelve equal parts. Roll each part into a ball about 1¼ inches (3.13cm) in diameter and cover with a damp cloth.

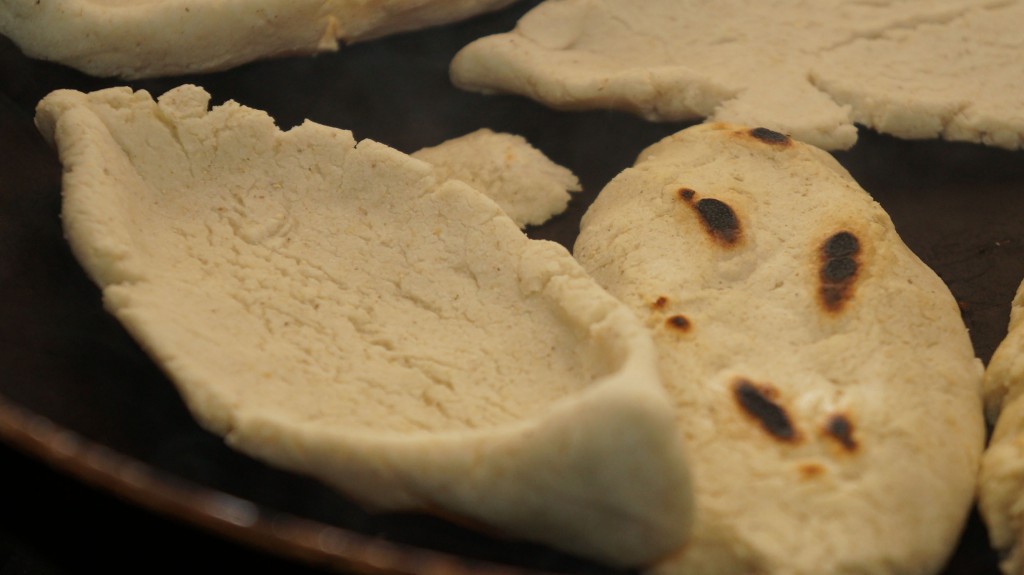
Warm a lightly greased comal over medium heat. Roll a ball of the masa into a cylinder about 3 inches (7.5cm) in length, and with your index finger (as shown), press down to form a hollow in the center of the masa and tapering at the end like a small canoe. Place on the warmed comal bottom down (I used a cast-iron pan) and cook until the masa is opaque and slightly speckled with brown, about 4minutes. Turn the chalupa over and cook on the hollowed side for a further 4 minutes, or until the dough is cooked but oft inside with a slightly crusty surface.

Fill and dress the chalupas; as you will need half the quantities given in the list above.

Note: Like all masa antojitos these are eaten the moment they are cooked but this may not be practical. So make them ahead of time and keep them covered-untilled-with a damp cloth. Reheat gently in the melted lard or oil and then fill and serve. I do not recommend freezing (although some people do it) because it tends to toughen the masa or it disintegrates when defrosted.

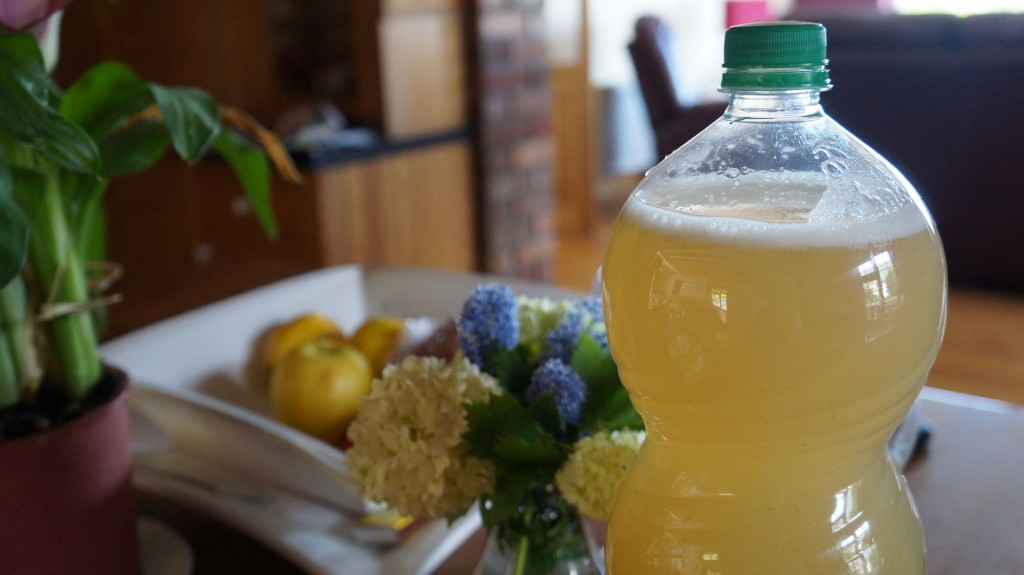
How to make Ginger Beer

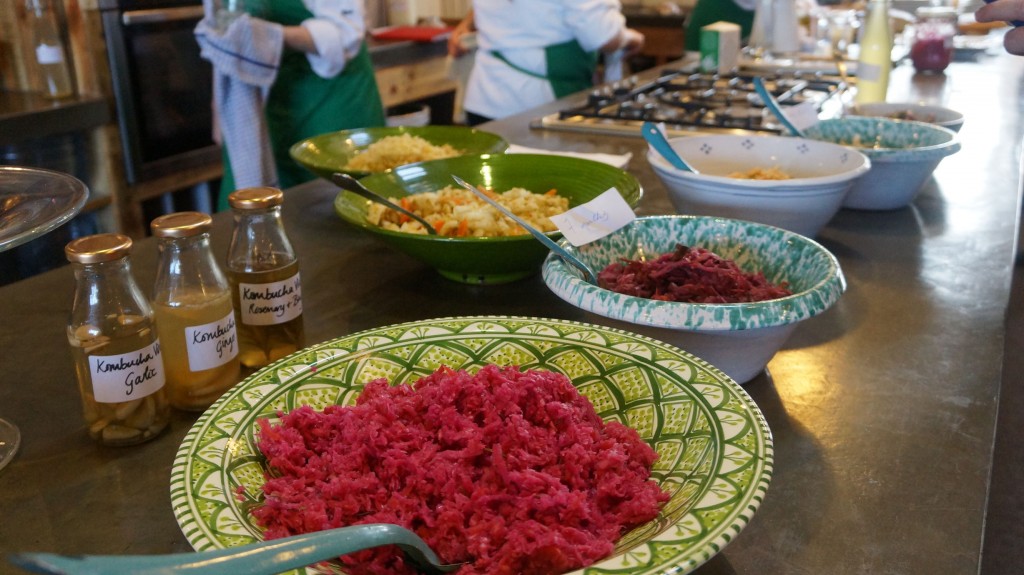
Of all the authors at LitFest, Sandor Katz is one I'm most familiar with. When I first began to delve into the forgotten skills of cooking, his book Wild Fermentation was a sort of bible to many of my environmentally conscious friends – and still is! Fermenting foods is a way of preparing food that is an incredibly intimate reflection of the local where it is made. When you think about it, the food is (mostly) preserved by the natural yeasts and bacteria present, not only from the food itself, but also from the atmosphere. I remember being told during a fermentation course that you actually don't need to use sterilized jars or thoroughly washed vegetables for your, say, kimchi. The white dusty film on your cabbage leaves are full of bacteria that help the fermentation happen. The more sterilized the environment, the less likely your fermentation will happen.

Thus, it is incredibly easy and fuss-free. It only requires time – not even time from you (other than the 5 minutes per day that you'll need to tend to your new pet. Yet, as I write this the tasks ahead of me seem daunting. Perhaps it is because many of these foods remain a mystery. We've been raised to believe and fear that food outside the fridge is dangerous.

It's hard to neglect the extreme importance of fermented foods in our diet. They add beneficial bacteria that help our digestion function optimally. Food fad proponents of supplementation and 'superfoods' often neglect the very important part of actually absorbing these beneficial nutrients. One cannot absorb and utilize these unless our digestion is up to scratch.

~~~~~

Ginger Beer from The Art of Fermentation (2012)

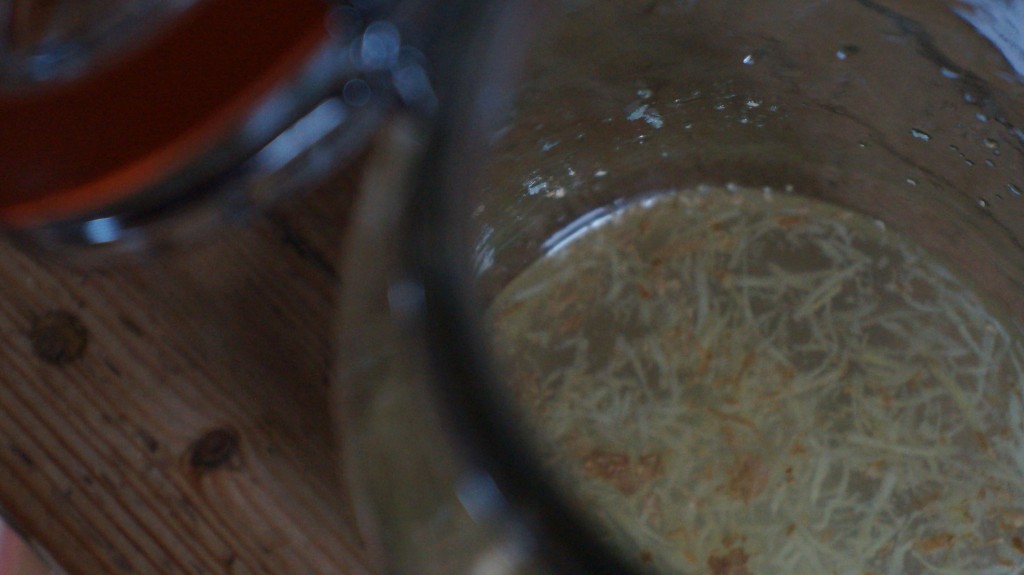
Grate a bit of organic ginger (with skin) into a small jar, add some water and sugar, and stir. Stir frequently, and add a little more grated ginger and sugar each day for a few days, until the mixture is vigorously bubbly.

Once your bug is vigorously bubbly, prepare a ginger decoction that will become your ginger beer. I like to make a concentrated decotion that cools to body temperature as it is later diluted with cold water. To make such a concentrate, fill a cooking pot with water measuring about half the volume of ginger beer you wish to make. Add finely sliced or grated ginger using 2-6 inches of gingerroot (or more) for each gallon / 4 liters of ginger beer you are making (though only half of this volume is in the pot). Bring to a boil, then gently simmer the ginger, covered, for about 15min. If in doubt about how much ginger to add, experiment. Start with a smaller amount, taste after boiling (and diluting), and if a stronger flavor is desired, add more and boil another 15min.

After boiling the ginger, strain the liquid into an open fermentation vessel (crock, wide-mouth jar, or bucket), discarding the spent ginger pieces (or live the ginger in and strain later), add sugar. I usually use 2 cups of sugar per gallon (of target volume, still requiring more water), but you might like it a little sweeter than I do. Once sugar is dissolved in hot ginger water, add additional water to reach the target volume.

This will cool your sweet ginger decoction. IF it feels hot to the touch, leave it a few hours to cool before adding ginger bug. Add a little lemon juice too, if you like. Stir well. Cover with a cloth to protect from flies and leave to ferment in the open vessel, stirring periodically, until the ginger beer is visibly bubbly, anywhere from a few hours to a few days depending upon temperature and the potency of the started.

Once your ginger beer is bubbly, you can bottle it. If you wish to minimize alcohol content, bottle it quickly, and give it a short time to ferment in the bottle. If you prefer a more alcoholic brew, leave it to ferment for several days before bottling. Gauge carbonation with a plastic soda bottle. When it resists squeezing between your fingers and no longer yields easily, it is carbonated. Refrigerate bottles to cool and prevent further carbonation. Ginger beer will continue to slowly ferment (and pressurize) in the refrigerator, so enjoy it within a few weeks.

Chocolate Chili Truffles

As most great chefs, Thomasina Miers is well traveled and draws inspiration from each region she's connected with – Ireland, England and (especially) Oaxaca, Mexico. As fresh Ballymaloe graduates, her and Clodagh McKenna traveled the Irish country-side selling their home-made pastas, sauces and sourdough. It's beautiful to imagine how such humble beginnings and hard work have gotten these two celebrated chefs where they are today. With sustainability in mind, Tommi (as she calls herself) went from winning the famed TV show competition Masterchef to opening Wahaca – a number of authentic and sustainable Mexican street food restaurants in and around London, England. Oh, and she also loves chilies, so much so that she will share a tasting of them at this year's Lit Fest.
The chilli chocolate recipe is from her first solo cookbook Cook (2005). The other two are from her own private collection that she is doing especially for the chili tasting event.

~~~~~

Chipotles ‘En Adobo’

I have no photos of this recipe but it sounds so good that I had to post it! She writes: “En adobo’ means in a marinade. This marinade is a simple-to-make smoky, fiery, slightly sweet purée that harnesses the intense flavours of chipotle chillies. It lasts for months and soon becomes an indispensable ingredient in the kitchen, delicious in stews, pasta sauces, dressings and mayonnaises. Once you have started using it you may well find yourself wondering how you ever did without it.”

200g Chipotle chillies (about 65)
A head of garlic, cloves roughly chopped
A large, Spanish onion, roughly chopped
3 tbsp fresh oregano leaves or a few good pinches of dried oregano
1-2 tbsp thyme leaves
3 tbsp tomato puree
A tsp cumin seeds, crushed
2 fresh bay leaves
4 tbsp olive oil 350ml good quality white wine vinegar
50ml saba or good Balsamic (optional) 7 tbsp
Demerara or palm sugar
2 tbsp sea salt

Wash the Chipotles in cold water and drain. Snip off the stalk end of each chilli with scissors, which will allow the water to penetrate their tough skins. Cover with water and simmer for 30-40 minutes until completely soft.

When the chillies are soft, rinse off any excess seeds. Put the onion, garlic, herbs and spices into the blender 200ml of water and six of the chillies. Purée to a smooth paste (a stick blender is just as easy). Heat the oil in a large, heavy-bottomed saucepan until it is smoking hot. Add the chilli paste and fry for about three minutes, stirring continuously with a spatula to prevent it catching and burning.

Add the vinegar, sugar, salt and another 100ml water and cook for another five minutes before adding the rest of the chillies. Cook, whilst stirring for a further fifteen minutes and at the end check to see if the purée needs more salt or sugar.

Store in clean jam jars or Kilner jars. These make great presents at Christmas or make a smaller batch just for you.

NOTE I often blend the chipotles into a puree after they are cooked which makes them easier to measure out into recipes.

~~~~~

A Blow Your Head Off Salsa

2 tbsp vegetable or olive oil
1 small onion, chopped
2 cloves garlic, chopped
3 medium carrots, diced into small pieces
500ml water 2 Scotch Bonnets, stems removed
The juice of 2 limes
2 tbsp white wine vinegar or good quality cider vinegar
1 tbsp salt
½ tsp dried oregano or 1 tsp of fresh if available

Dry-roast the chillies in a pan until blackened and soft. Open out and de-seed. Heat the oil in a pan and sweat the onion and carrots for 10 minutes before adding the garlic. Cook until the onion turns translucent and then add the water. Bring to a boil and simmer until the carrots are soft. Add the remaining ingredients and purée in a blender until smooth.

Store in a clean sterilized jar in the refrigerator.

~~~~~

Chilli Chocolate Truffles

500g dark chocolate (70% cocoa solids) 200g chocolate (at least 40% cocoa solids) a good pinch of ground cinnamon a good pinch of allspice berries 10 cloves 1 teaspoon chilli flakes 400ml double cream 30g butter 50g cocoa powder

Grease a baking tin (approx. 30cm by 12cm) with a little vegetable oil and line with cling film. Break the chocolate into smaller chunks to make it melt more easily. Grind the spices and chillies with a pestle and mortar, and heat with the double cream in a heavy-bottomed pan. Add to the chocolate in a heat-proof bowl and stir in. If you melt the chocolate with cream that is too hot, the chocolate will split, in which case you will need to stir a few tablespoons of cold cream into the melted chocolate. If the chocolate does not melt completely, suspend the bowl over a pan of gently simmering water to warm the chocolate gently. Stir in the butter. Pour the mixture into the tin, ensuring it is flat and has filled the corners, and freeze for 1 hour. Sieve half the cocoa powder into a large bowl. Turn out the chocolate mixture onto a chopping board and cut into cubes. Toss the cubes in the cocoa powder, sieving more over the truffles as you cut them to prevent sticking, and transfer them to a plastic bag. Store in the fridge or freezer.

~~~~~

 Have a taste for heat?

Slow Cooked Lamb Shanks, Apple Tea Cake

Maggie Beer is a force to be reckoned with. With 9 cookbooks, this renowned Australian author believes in classic, wholesome cooking using simple, local ingredients. As I write about Beer, I can't help of think of her journey. It seems like she, and the other authors I've been blogging about, have been inspiringly ambitious and followed a passion that led to success. In Beer's case, starting a pheasant-based farm shop led to opening a restaurant when she realized the shop alone wasn't quite paying the bills. Similarly, Tim and Darina Allen went from farm shop to cooking school when they, too, realized that the direct sale of their farm's goods was not quite enough.

One has to then consider the current price of food. People are slowly beginning to catch on that the price of food is still too low – not the other way around! For the amount of work that needs to be done, versus the expectations people have for food costs often means a degradation of quality in food.

Here's a brilliant 3min video explaining the True Cost of Food:

Verjuice is one Beer's favourite ingredients.

For those who don't know what it is, it is the juice of tart young grapes that are then stabilized with alcohol. You can juice the grapes yourself if you have a vine but if you pick them and they don't make your mouth pucker, they are too ripe. When you make it yourself, you can make the quantity you'd like without the addition of alcohol, but it won't keep. So, freeze the young grapes and juice them as needed if you can't find this delicate ingredient.

It is intended to add a piquancy with a subtle hint of grape in the background. As you can see by the recipes I've delved into below from her book Maggie's Table (2001), it can be used in sweet or savoury dishes, as is (ie. in a salad dressing), cooked down to deglaze a roasting pan of poultry or caramelized to use with sweet treats.

~~~~~

Slow Cooked Lamb Shanks with Verjuice, Preserved Lemon, Bay

17 cloves garlic 8 milk-fed lamb shanks 12 sprigs rosemary Extra-virgin olive oil 5 quarters preserved lemon 8 bay leaves 500 ml verjuice 1 teaspoon peppercorns 1 teaspoon sea salt

Preheat the oven to 120C.

Finely chop 3 of the garlic cloves and put them into a heavy-based non-reactive pot with the shanks, rosemary and a splash of olive oil. Brown the meat on the stove over a low heat, turning it regularly. Remove the pulp from the preserved lemons, then rinse the rind and cut each piece in half.

Put the preserved lemon and remaining ingredients into the pot with the shanks and stir to mix. Cover the pot with a lid, then bake very slowly or 4 hours

Served with Freekah Salad: A Mediterranean toasted grain-based salad.

~~~~~

~~~~~

Apple Tea Cake with Caramelized Verjuice Syrup

6 small Golden Delicious apples
Castor sugar
250 ml verjuice
¾ tsp ground cassia

Cake
100 g softened unsalted butter
100 g castor sugar
2 x 61 g free-range eggs
250 g unbleached plain flour
1 tsp bicarbonate of soda
1 tsp cream of tartar
1⁄2 tsp salt
125 ml milk
1 tsp pure vanilla extract

Caramelized verjuice syrup
250 ml verjuice
240 g castor sugar
300 ml reserved apple cooking syrup

Peel and core the apples, then cut them into eighths and put them into a saucepan with castor sugar and verjuice. Bring to a boil over a high heat, and gently stir until the sugar has dissolved. Turn off the heat and leave the apples in this light syrup for 10 minutes, then drain, reserving the syrup.

Preheat the oven to 180°C and grease and line a 22 cm spring form tin. To make the cake, cream the butter and castor sugar until pale and thick. Add the eggs one at a time, beating well after each addition. Sift the flour, bicarbonate of soda, cream of tartar and salt and add alternately to the egg mixture with the milk and vanilla extract. Spoon the batter into the prepared tin. Arrange the apple on the top in a concentric pattern, pushing the pieces into the batter slightly. Mix 2 teaspoons of castor sugar and the ground cassia and sprinkle evenly over the top. Bake for 45 minutes or until a skewer inserted into the centre of the cake comes out clean. Let the cake stand for at least 10 minutes before removing the tin.

While the cake is cooking, make the syrup. Have iced water ready in the sink or a large bowl. Bring the verjuice and castor sugar to a boil in a saucepan and cook until a deep, golden brown. Remove the caramel from the heat and cautiously add the reserved apple cooking syrup – the mixture may spit a little. Stand the saucepan in the iced water immediately to arrest the cooking, then pour into a jug ready to serve.

To serve, brush the warm cake with the syrup. Put a wedge of warm cake onto each plate (one with a gentle lip is best), then ladle over the syrup and offer with a hearty dollop of thick cream.

~~~~~

You won't want to miss Maggie Beer's cookery demonstration at this year's LitFest!

Cooking with Spring Produce

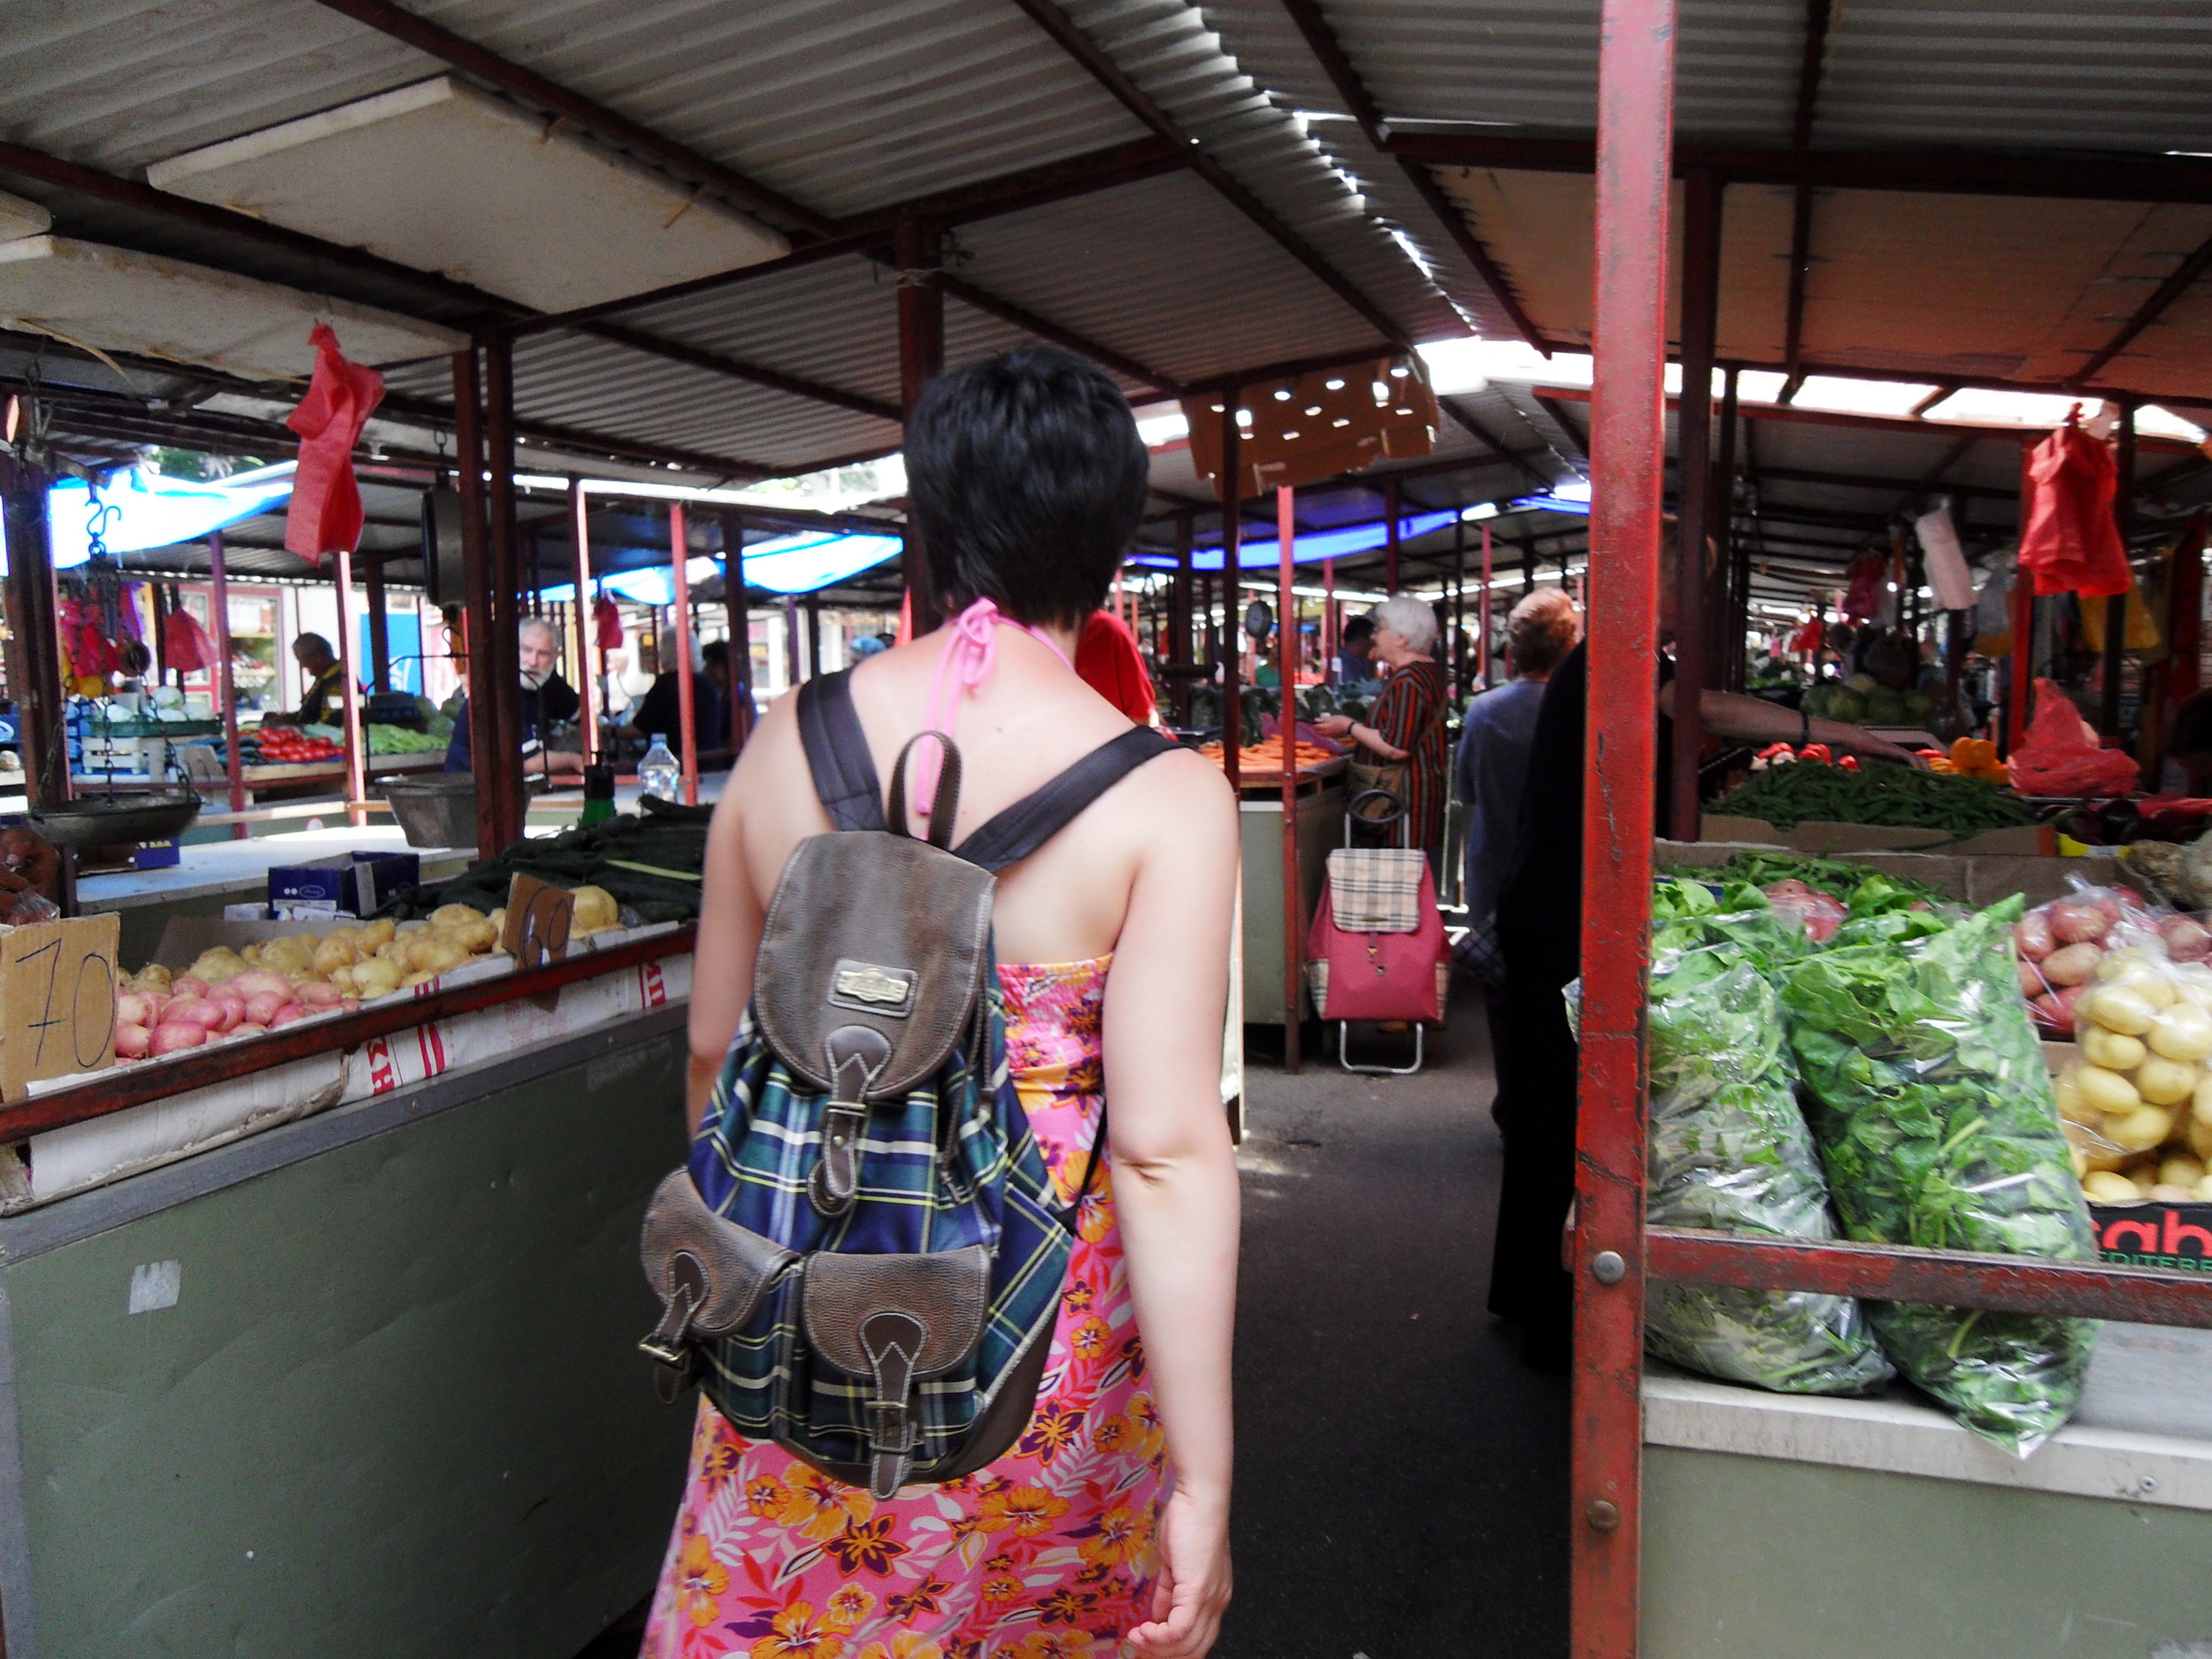
One of my earliest memories as a child was visiting a farmer's market where my family lives in Serbia. I remember being asked what I would like for supper. I insisted on having a cucumber salad at the beginning of May and I couldn't possibly understand that 'it wasn't in season'. Clearly, I was used to the luxury of imported foods. This experience was my first taste of what eating seasonally meant.

Farmer's markets have now become a special outing and a pleasurable shopping experience where you know you'll go home afterward with the most delicious food. They are also a place of conviviality and certainty that your food is fresh and seasonal. As Alice Waters writes in the introduction of Christopher Hirsheimer's Book, San Francisco Ferry Plaza Farmer's Market Cookbook (co-written by Peggy Knickerbocker),

"It starts with a transaction that's essential, an exchange of food, but it widens to include the fundamental experience of being alive. And by providing the element of surprise, going to the market frees us from our rigid agendas and teaches us what being alive can mean."

Hirsheimer is an American author of Canal House Cooking Volumes, a well-known series of amazing, simple and meticulously written recipes. Hirsheimer and Knickerbocker spread their art of cooking authentic cuisine with character and passion.

What I love about the Farmer's Market Cookbook is that they alphabetize produce respective to the season they're available in. Of course, seasonality differs from country to country. Check out your local, seasonal produce guide or chat with a farmer at your local market.

Buying food by the season is a great place to start for anyone interested in eating to improve their health. Starting with a recipe that focuses on one fruit or vegetable that is in season can make any novice cook that much more capable of making delicious food. Fresh, locally produced and organic food inherently tastes better than commercially store bought. Once something is picked, it begins degrading in nutrients and flavour. Farmer's market vendors usually pick their produce the morning it's sold whereas supermarket foods are usually picked before they are ripe and are altered chemically to ripen when they arrive at the store.

Here are some of my favourite spring vegetables in recipe form using some of Hirsheimer's Farmer's Market Cookbook recipes.

~~~~~

Cecilia Chiang's Asparagus with Soy-Sesame Dressing

as adapted by Saveur

I used sea kale in this recipe. It is a Spring vegetable that looks like celery and tastes slightly of asparagus.

1 ½ lbs. asparagus, trimmed and cut crosswise on the diagonal into 2" pieces

1 tbsp. Japanese reduced-sodium soy sauce

1 tsp. Asian sesame oil

2 drops red chile oil

½ tsp. toasted sesame seeds

Bring a medium pot of water to a boil over high heat. Add asparagus or sea kale to pot and cook until tender-crisp and bright green, 1½–2 minutes. Do not overcook. Drain, then immediately plunge into a large bowl of ice water; set aside to cool, 2–3 minutes. Drain again, then transfer to paper towels, pat dry, and set aside.

Whisk together soy sauce, sesame oil, and chile oil in a medium bowl. Add asparagus and toss. Transfer to a serving bowl and garnish with sesame seeds.

~~~~~

Dandelion Salad Lorraine

4 bacon slices, finely chopped

1 shallot, minced

small handful of fresh chives, minced

1 tablespoon red wine vinegar

¼ cup walnut oil

4 large handfulls of small, young dandelion

In a large skillet, cook the bacon over medium-high heat until crisp, about 3 minutes. Using a slotted spoon, remove the bacon to a paper towel to drain.

Put the shallot, chives, vinegar, oil and a pinch each of salt and pepper in a large salad bowl and mix together with a fork. Add the dandelion leaves and bacon and toss until the leaves are evenly coated. Taste and adjust the seasoning with salt and pepper and serve.

~~~~~

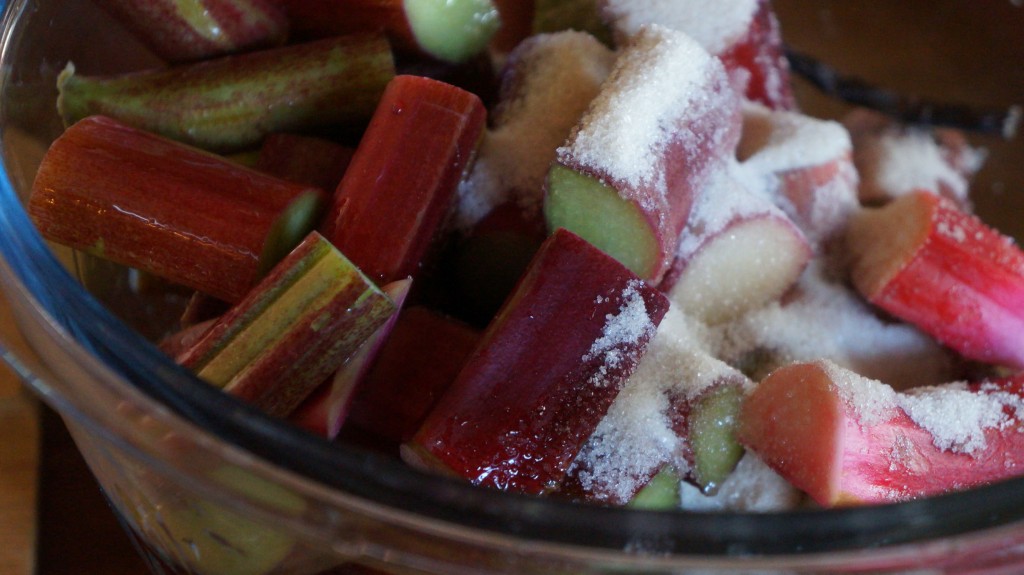
Rhubarb with Vanilla and Crème de Cassis

transcribed by Andrea At

2 pounds rhubarb, sliced into 1" pieces

1/3 cup sugar

1/3 cup crème de cassis

1/2 vanilla bean, split lengthwise

Oven preheated to 350F. Stir all of the ingredients together in a large baking dish and bake for about 30 minutes. The rhubarb should be tender and should release some of its juices.

Remove from the oven and take out the vanilla bean. Scrape the seeds into the rhubarb mixture with the tip of a knife. You can serve it warm or cold, over yogurt or whipped cream.

~~~~~

What do you look forward to eat most in the spring?